Individual Email Campaigns
Setting Up & Managing Campaigns
What are Individual Campaigns?
Campaigns enable users to communicate with their clients through email. These campaigns are designed to reach an audience outside the Gainfully platform.
To begin creating an individual campaign:
Navigate to: https://new.gainful.ly/advisor/email-campaigns/create and follow the detailed steps below:
Step 1: Choosing a Template
Click the paper plane icon in the left-hand navigation and select "New Campaign," or go to the Email Marketing menu and choose "Send Campaign" under Individual Campaigns. This will direct you to a page where you can browse available email templates.
Search & Filters:
- Search: Use the search bar to find specific templates by name.
- Filters: Refine your choices using the following filters:
- Tags: Filter templates by their associated tags.
- Recently Used: View templates that you have recently used.
- Favorited Templates: Access templates you’ve marked as favorites.
- Recently Added: Find templates that have been added in the last 30 days.
Template Details:
- Name and Subject Line: Each template displays its name and subject line to help you select the appropriate one for your campaign.
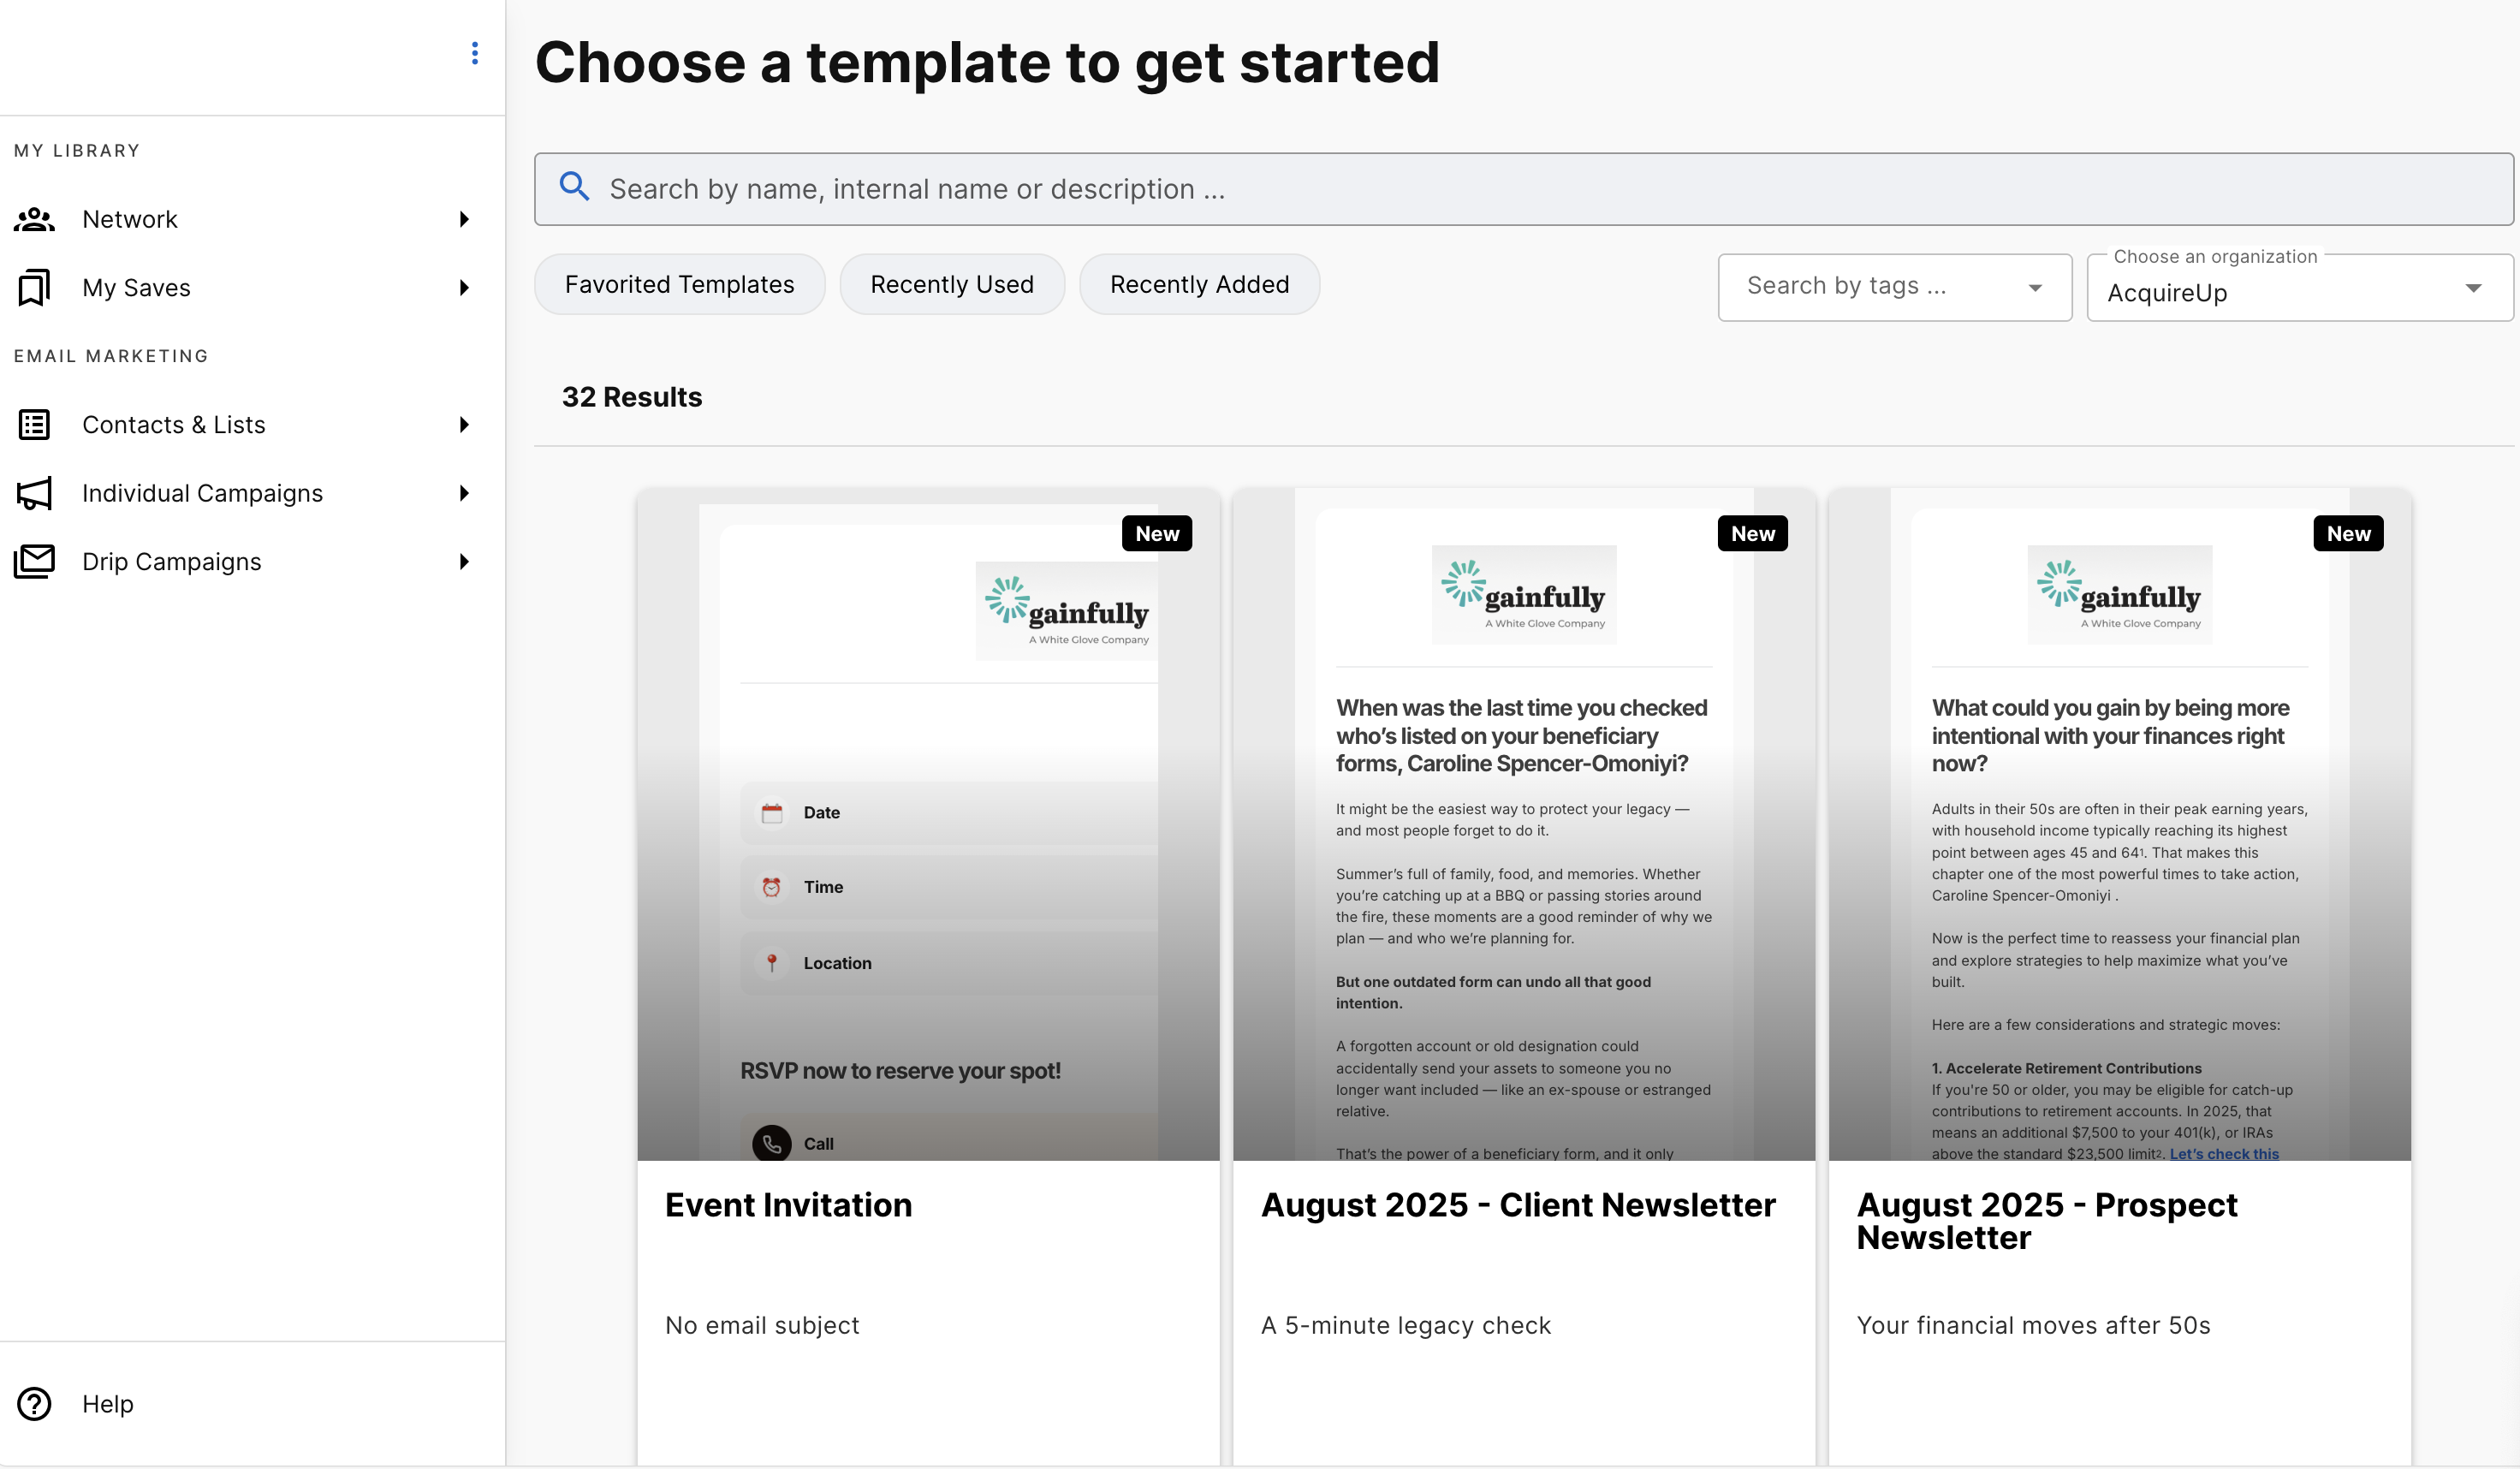
Badges:
- "New": This badge highlights templates that have been added in the last 30 days. You can use the "Recently Added" filter to view these templates.
- "Expiring Soon": This badge shows when a template will expire in the next 30 days. You can find more details about expiration in the template preview.
Favorites: Click the heart icon to save a template to your favorites for easy access later. To remove a template from your favorites, simply click the heart icon again. Click on the "My Favorites" filter to view all templates you’ve favorited.
Template Preview: Click the eye icon to preview the entire template. In the preview modal, you can see details such as expiration dates, subject lines, and tags. From the preview modal, you can either download the template for offline use or proceed to set up your campaign.
Step 2: Sending Your Campaign
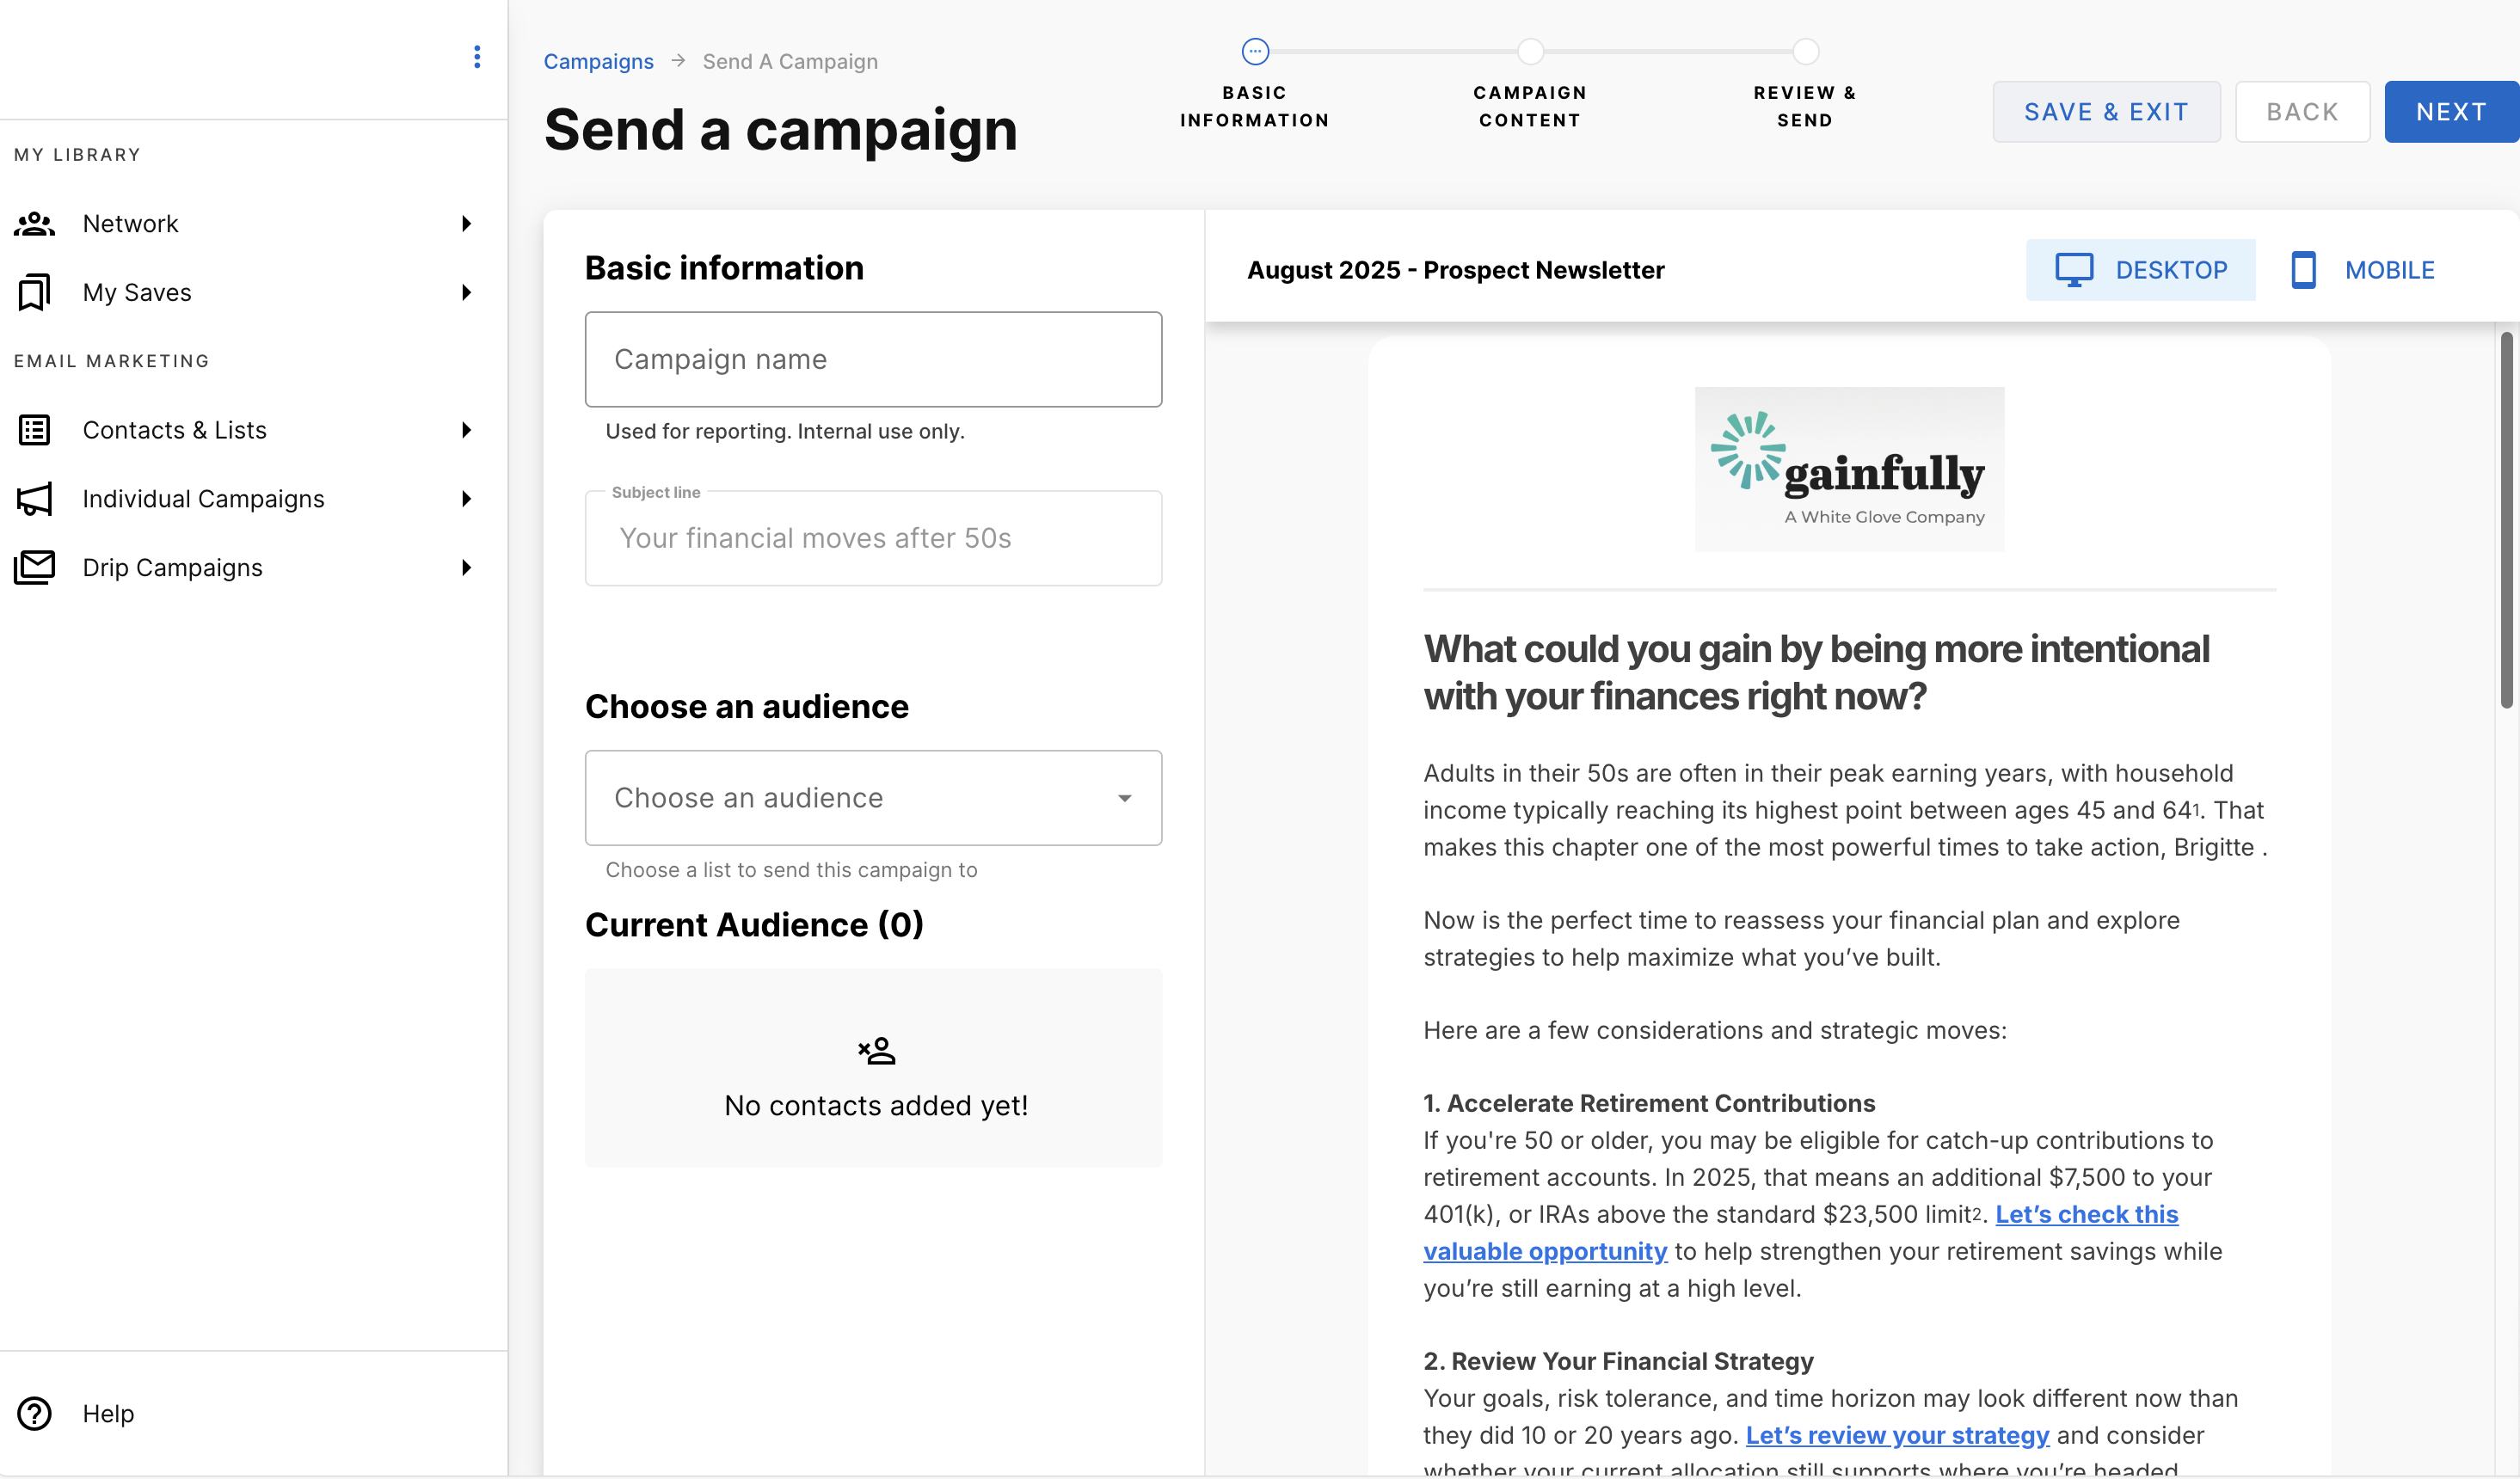
Once you select a template, you’ll be guided through the campaign setup process.
Enter Campaign Details:
- Campaign Name: Enter a name for your campaign. This name is for internal use and reporting and will not be visible to recipients.
- Subject Line: Input the subject line your audience will see. Note that this field may be preset by your administrator and may not be editable.
Select Your Audience:
Select one or more contact lists from your saved lists to target your campaign. If no lists are available, create one before proceeding. (Click here for support on creating lists)
Personalization:
- Add Content: If allowed by the template, you can add personalized content using the WYSIWYG editor or attach content cards using the selector.
Test Version:
- Send Test: Send a test email to yourself (or someone else) to ensure that everything appears as expected.
Schedule or Send:
- Immediate Send: Send your campaign right away. If your account requires compliance pre-approval, you will be able to "send immediately once approved."
- Schedule: Alternatively, schedule your campaign for a future date and time. Note that if pre-approval is required, your content must be reviewed before the scheduled date. Otherwise, it will be withdrawn, and you will be notified to resubmit.
Saving as Draft:
- Save Draft: Click "Save & Exit" to save your progress as a draft. This draft will be available on your campaign reporting page.
- Discard Changes: Click to discard all inputs, clearing your changes.
Step 3: Tracking Your Campaign
Campaign Summary:
- Monitor Performance: After sending or scheduling, you’ll be redirected to the campaign summary page. Here you can track key metrics like open rates, click-through rates, and other engagement statistics to evaluate your campaign’s effectiveness.
Campaign LimitsTo help optimize your campaigns we limit custom lists to 500 client entries and emails depending on what your home office has wanted. We'll display your remaining quota when you select an Audience. Daily limits reset each day at midnight while monthly limits reset on the first day of each month.
Single Send Client Emails
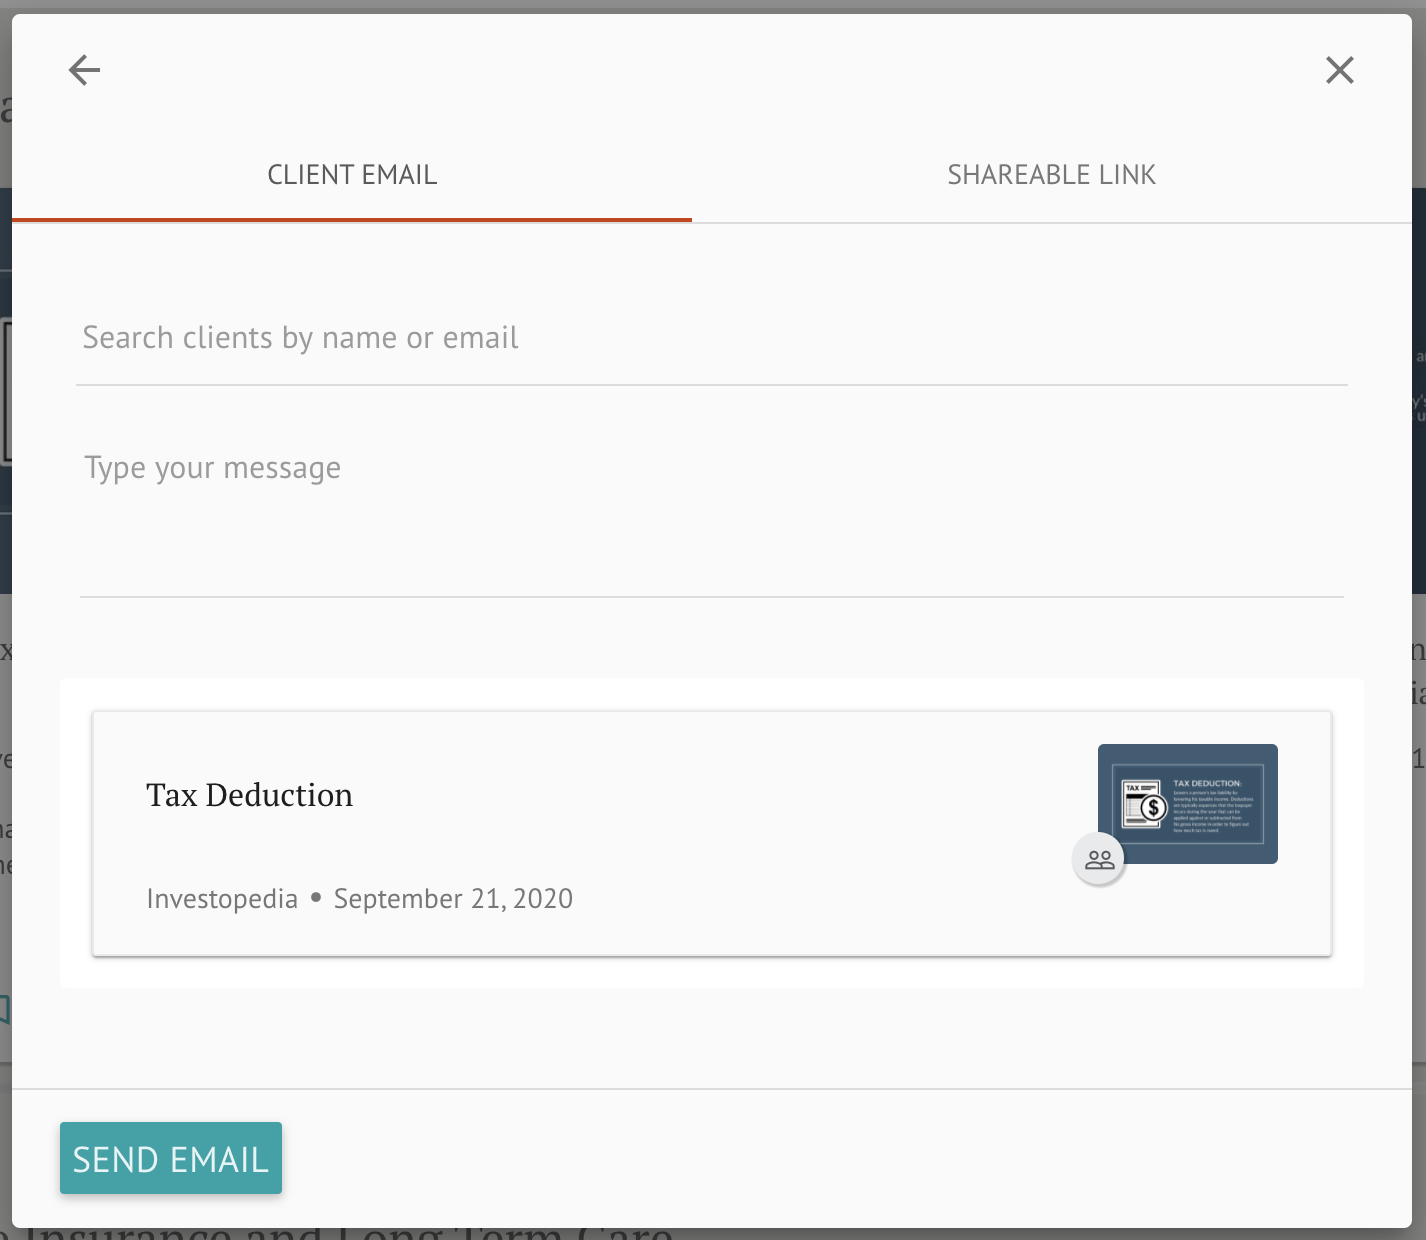
Gainfully users can use the Client Email feature to send content to their clients and prospects outside of the Gainfully platform. This feature allows users to include one content card per email.
To send content using Client Email, simply click Share from a content card and select the client you'd like to email. All client contacts must be added before they can be sent emails.
You also have the option to add a message to be sent with your content.
Select Send Email when you are ready to send. Note that all Client Emails are sent in real-time and cannot be scheduled.
Pro-TipAdvisors who send targeted or timely content to existing clients and new contacts have the most success. Tailor your lists to smaller groups and use targeted templates for increased relevancy.
Updated 15 days ago