Drip Campaign Reporting
Understanding your drip campaign metrics
Reporting for Drip Campaigns
To view drip campaign reporting, navigate to the Campaigns feature and select Drip Campaign Reporting
Drip Campaign Reporting
To fully utilize the email reporting capabilities, ensure you've enabled pop-ups and downloads from Gainfully. This will allow you to download important data regarding email performance. Navigating to the new user interface will give you the ability to fully analyze your email campaigns, target the audiences more efficiently, and ensure you're sending desired content.
High-Level Metrics
To view information about your drip campaign performance, select "recent campaigns". This will bring you to an overview of every drip campaign that's been sent, scheduled, or rejected in your history on Gainfully.
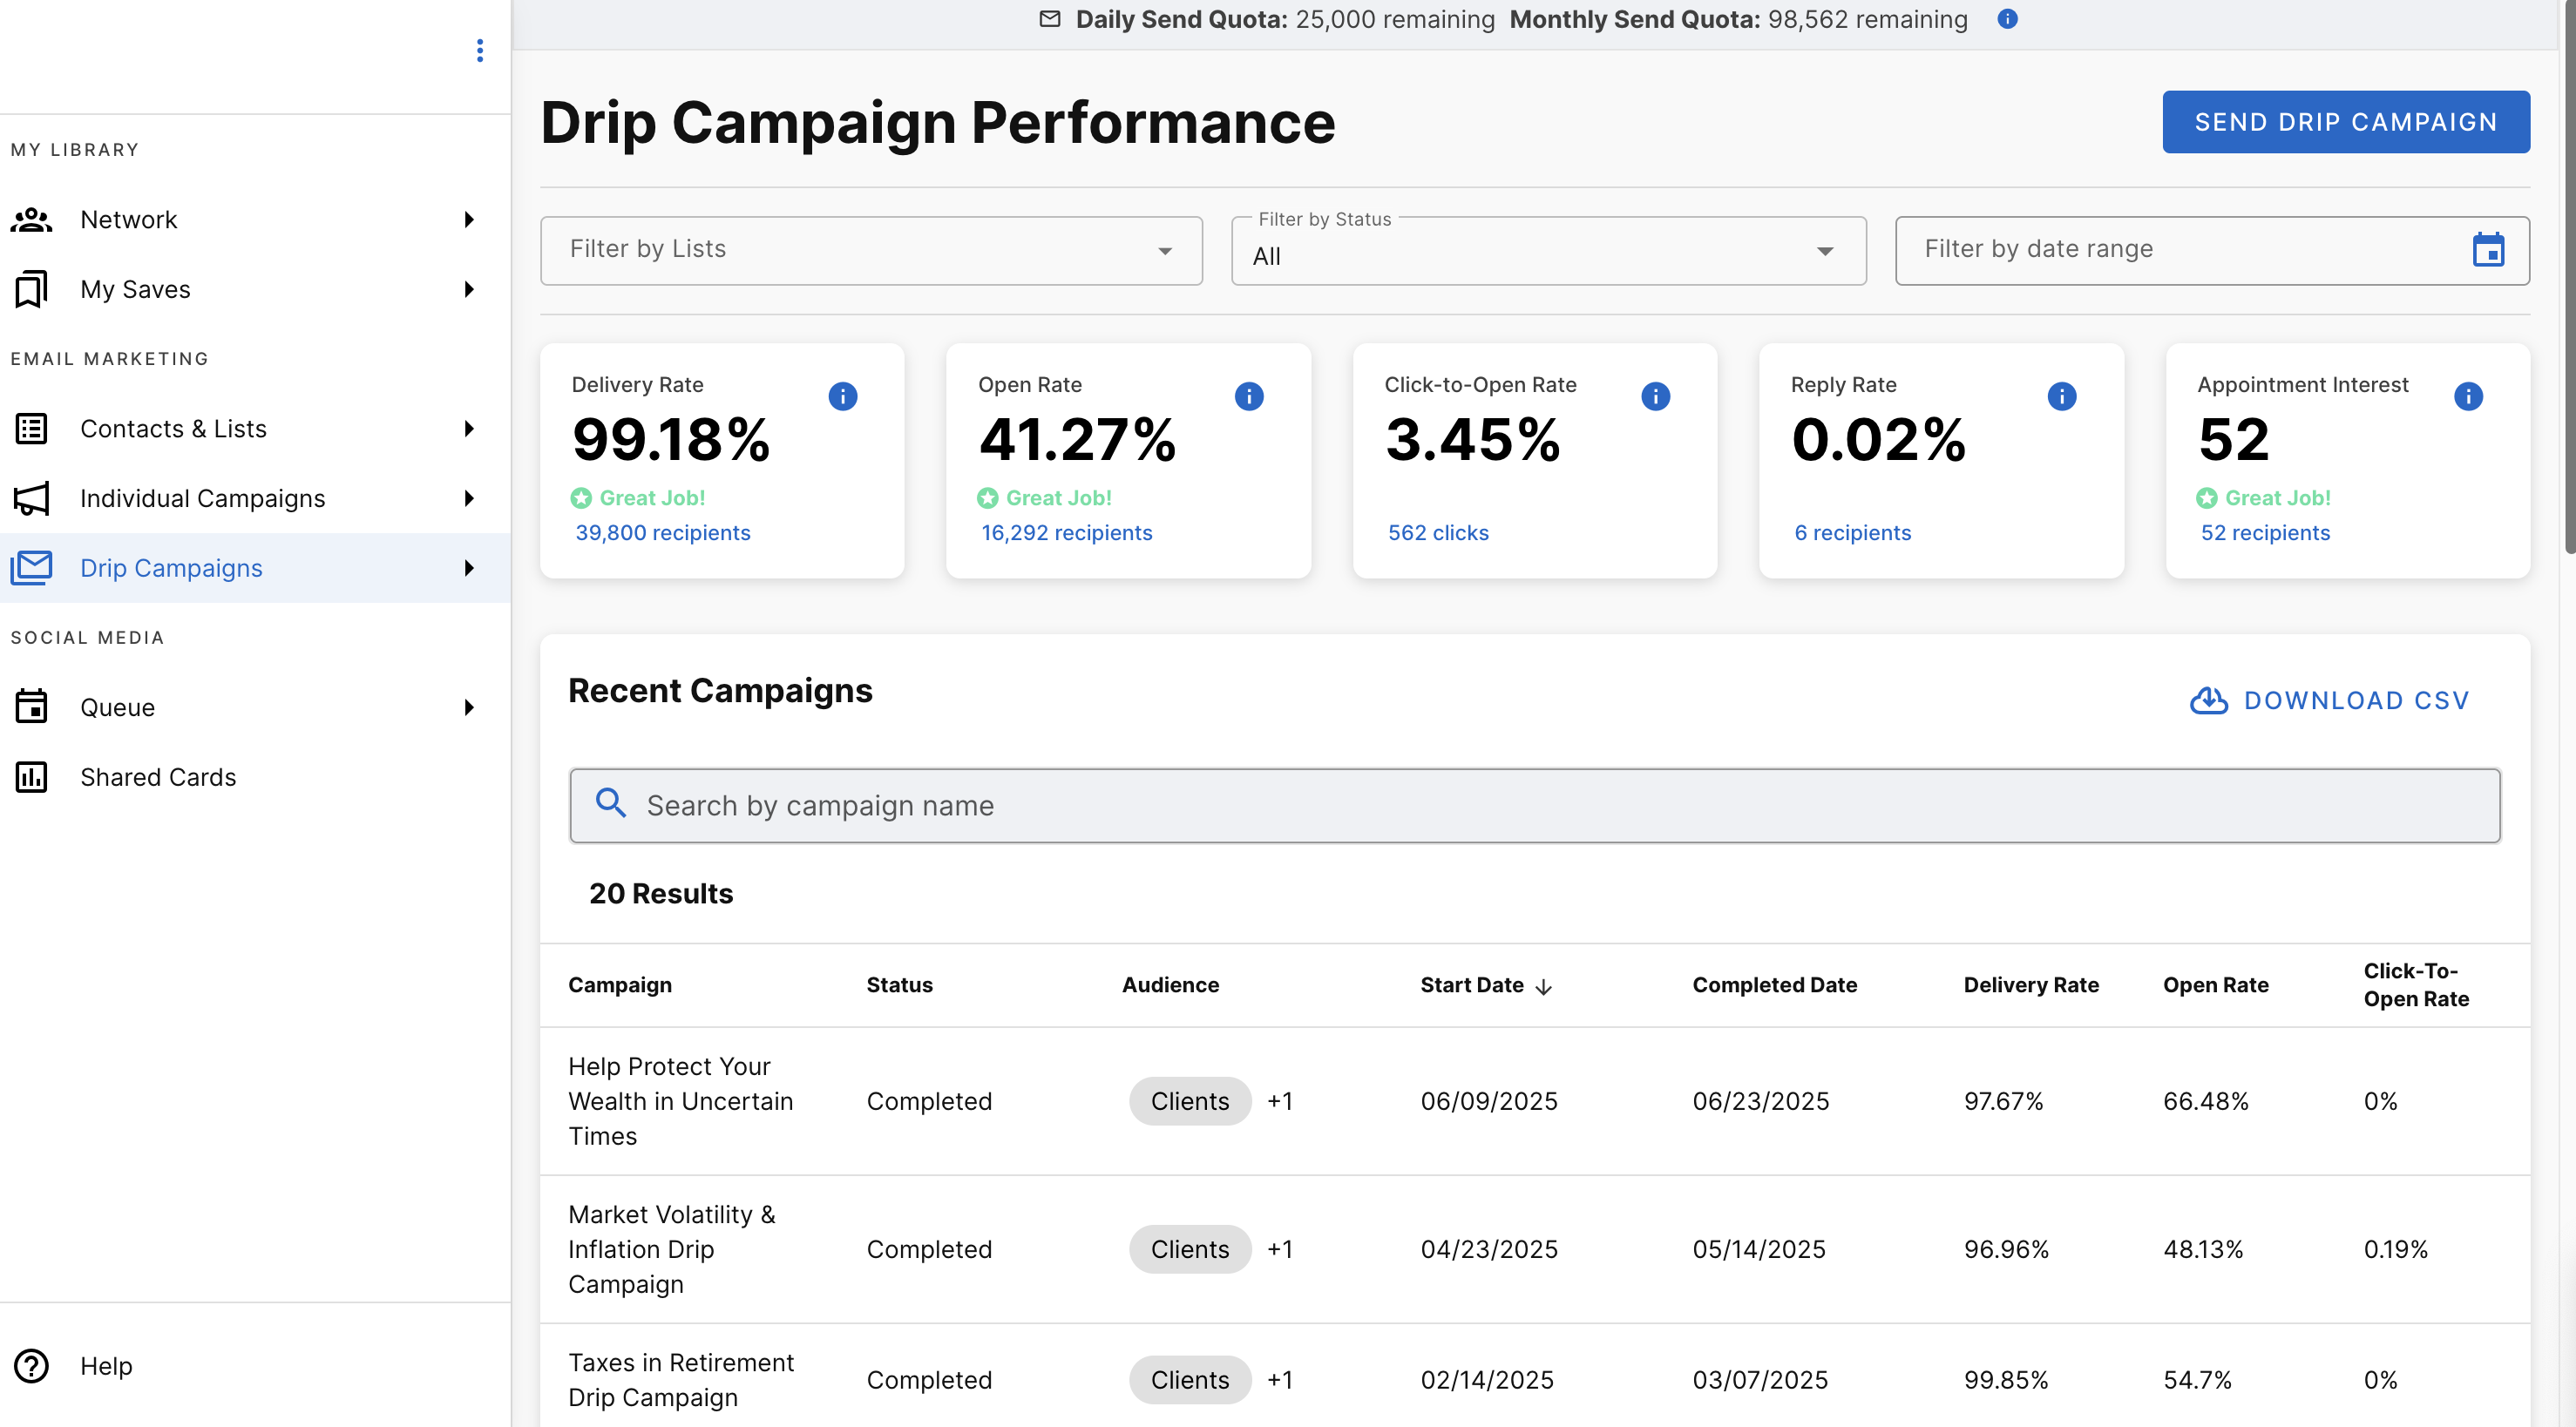
In the "recent drip campaigns" view, you'll notice that there are several different statuses and options to select. To learn more about a specific campaign, click anywhere in the row. From there, you'll be brought to a campaign summary with more information about the desired campaign.
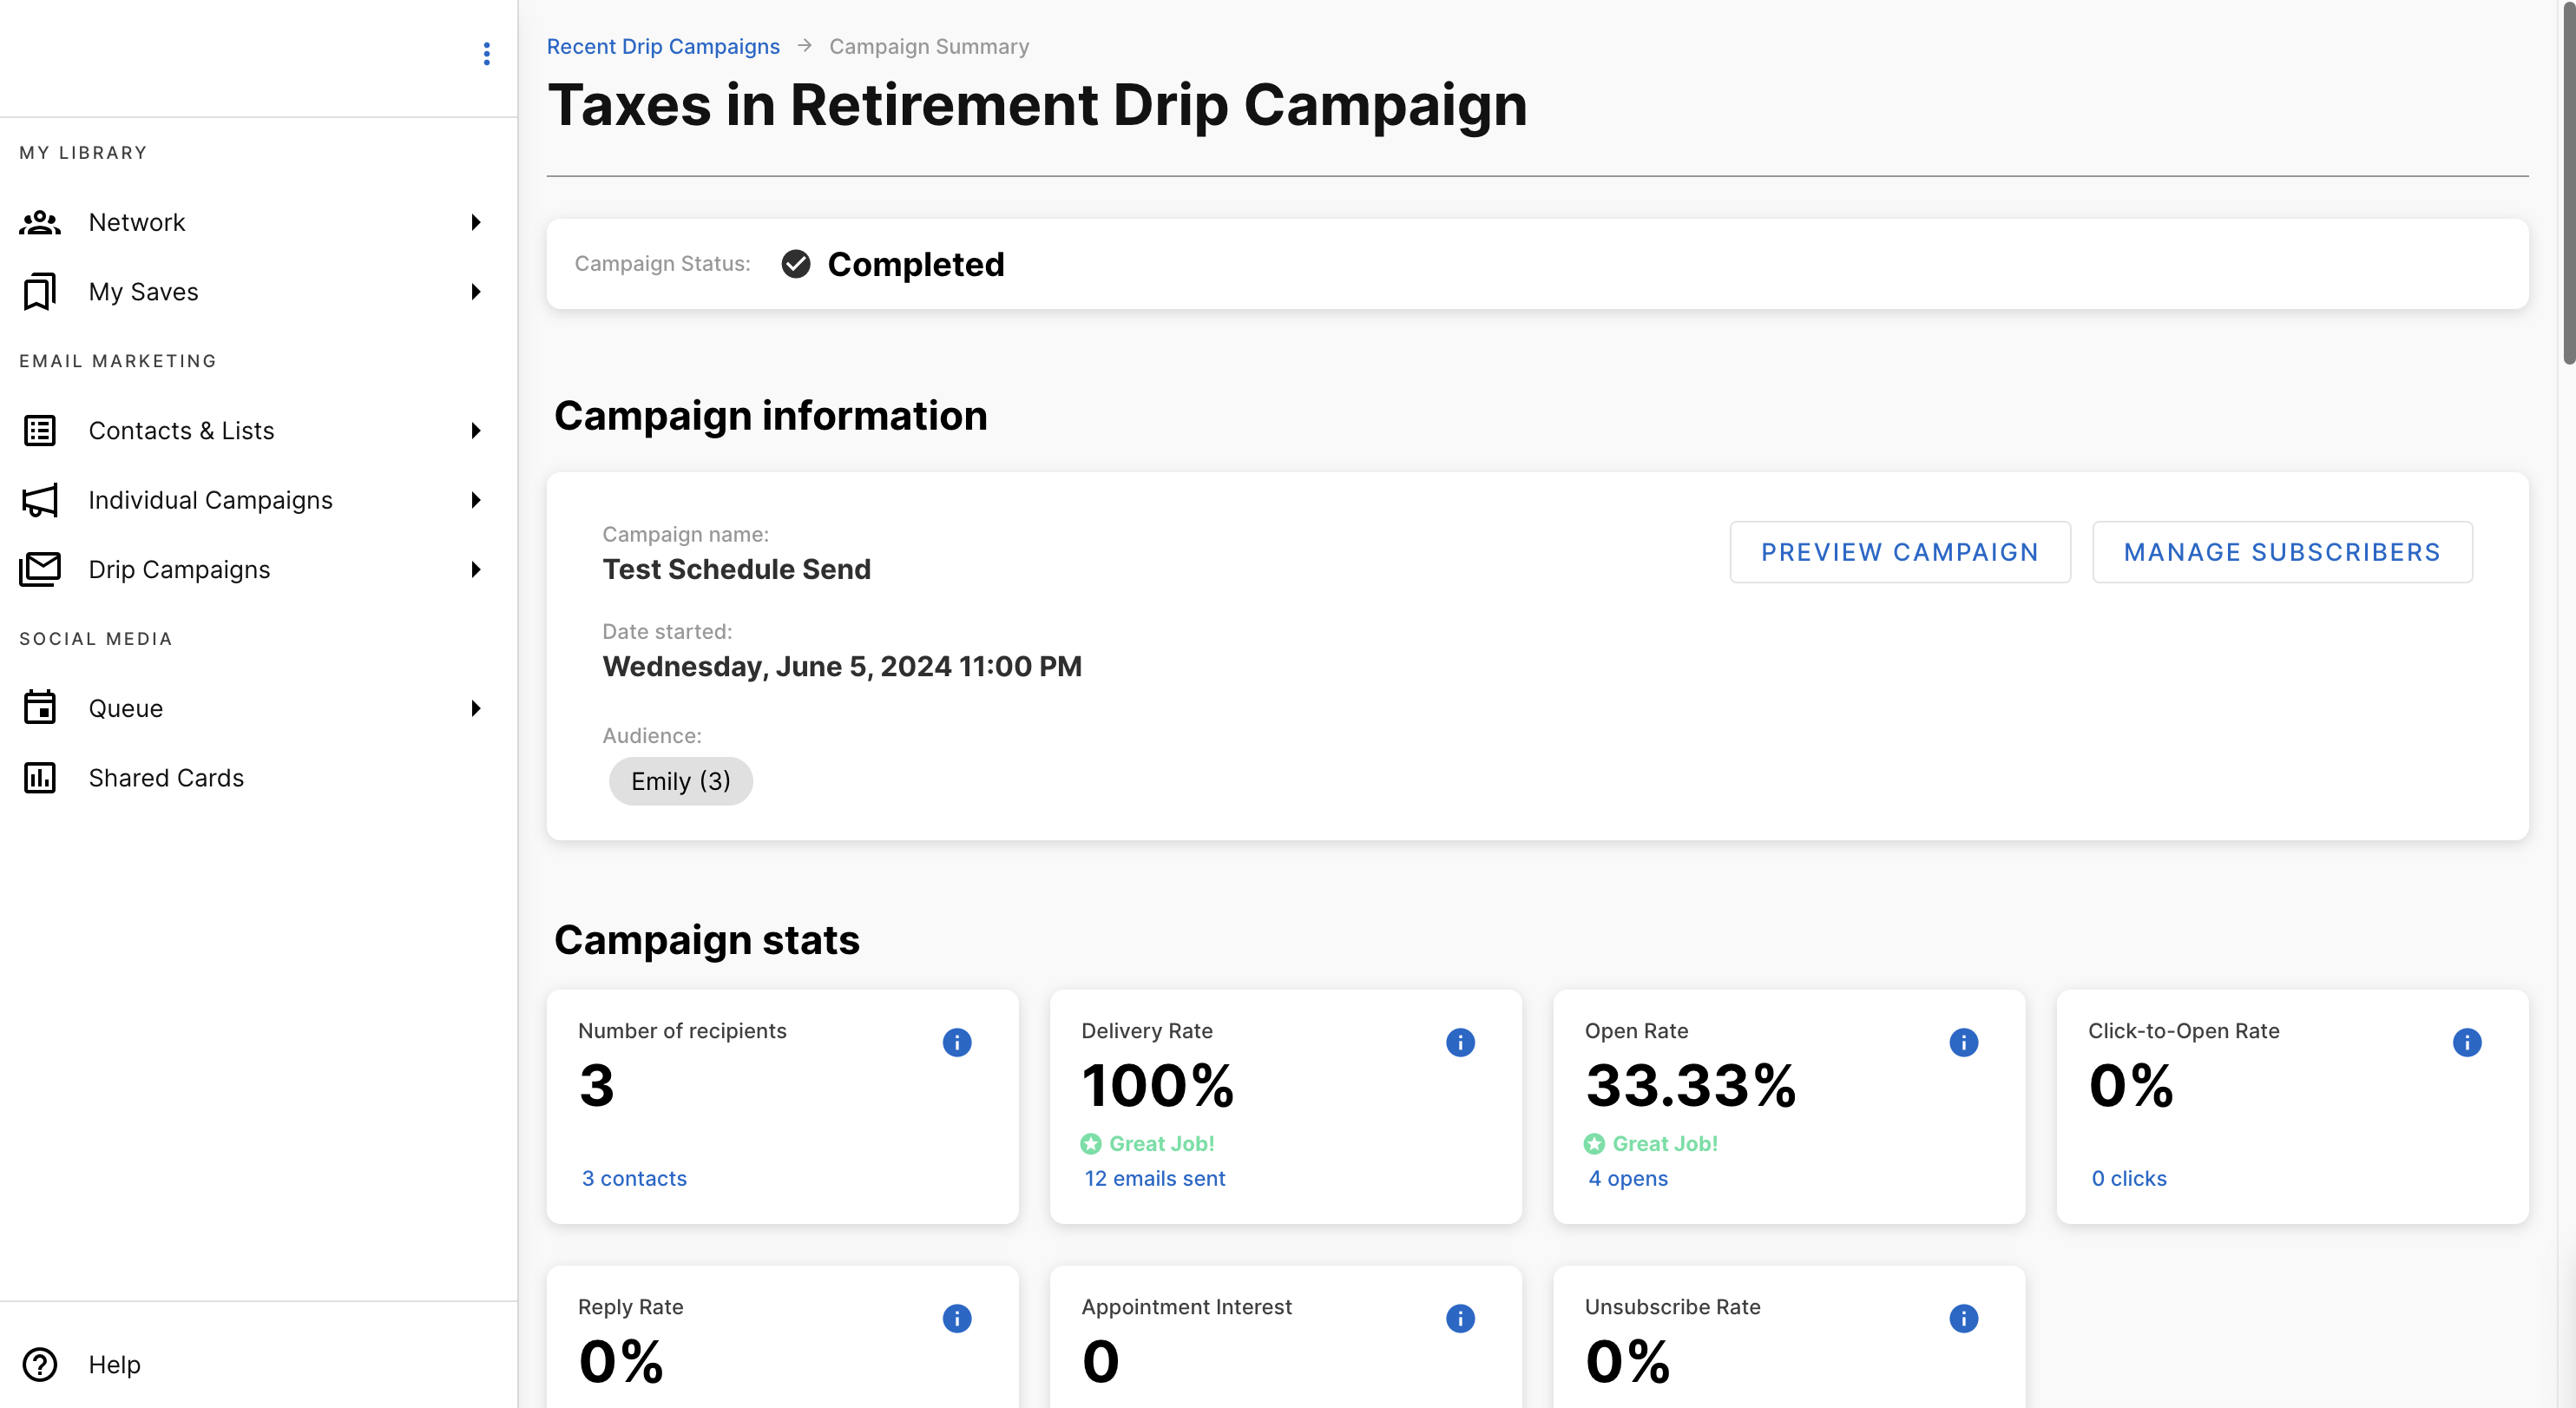
Campaign Status
Under campaign status, you'll see the current status of your drip campaign. If you need to cancel or pause your campaign, go ahead and select "pause" or "cancel". If you're unsure of which action to take, we'd recommend selecting pause. Cancel is a status that is irreversible. For more on campaign statuses, please see our email reporting definitions page.
Campaign Information
This section gives a high-level overview of what the campaign consists of. Here, you'll find information about the campaign's name, the audience it was sent to, and the date that the campaign was initiated.
You also have the ability to preview the campaign and manage subscribers from here. Selecting "preview campaign" will populate a module that features a live preview of what each email contains. Selecting "manage subscribers" will bring a pop-up module that's scrollable. There are actions to be taken inside the module if you desire.
Manage Subscribers
Selecting "Manage Subscribers" will generate a separate module in-screen. Within this experience, users are able to see who's engaged with their campaigns, who hasn't, who's unsubscribed, and more.
To search for a user, simply begin typing either their name or email in the search bar. If you'd like to see all users who have unsubscribed, or anyone your team has removed from the campaign, select those toggles.
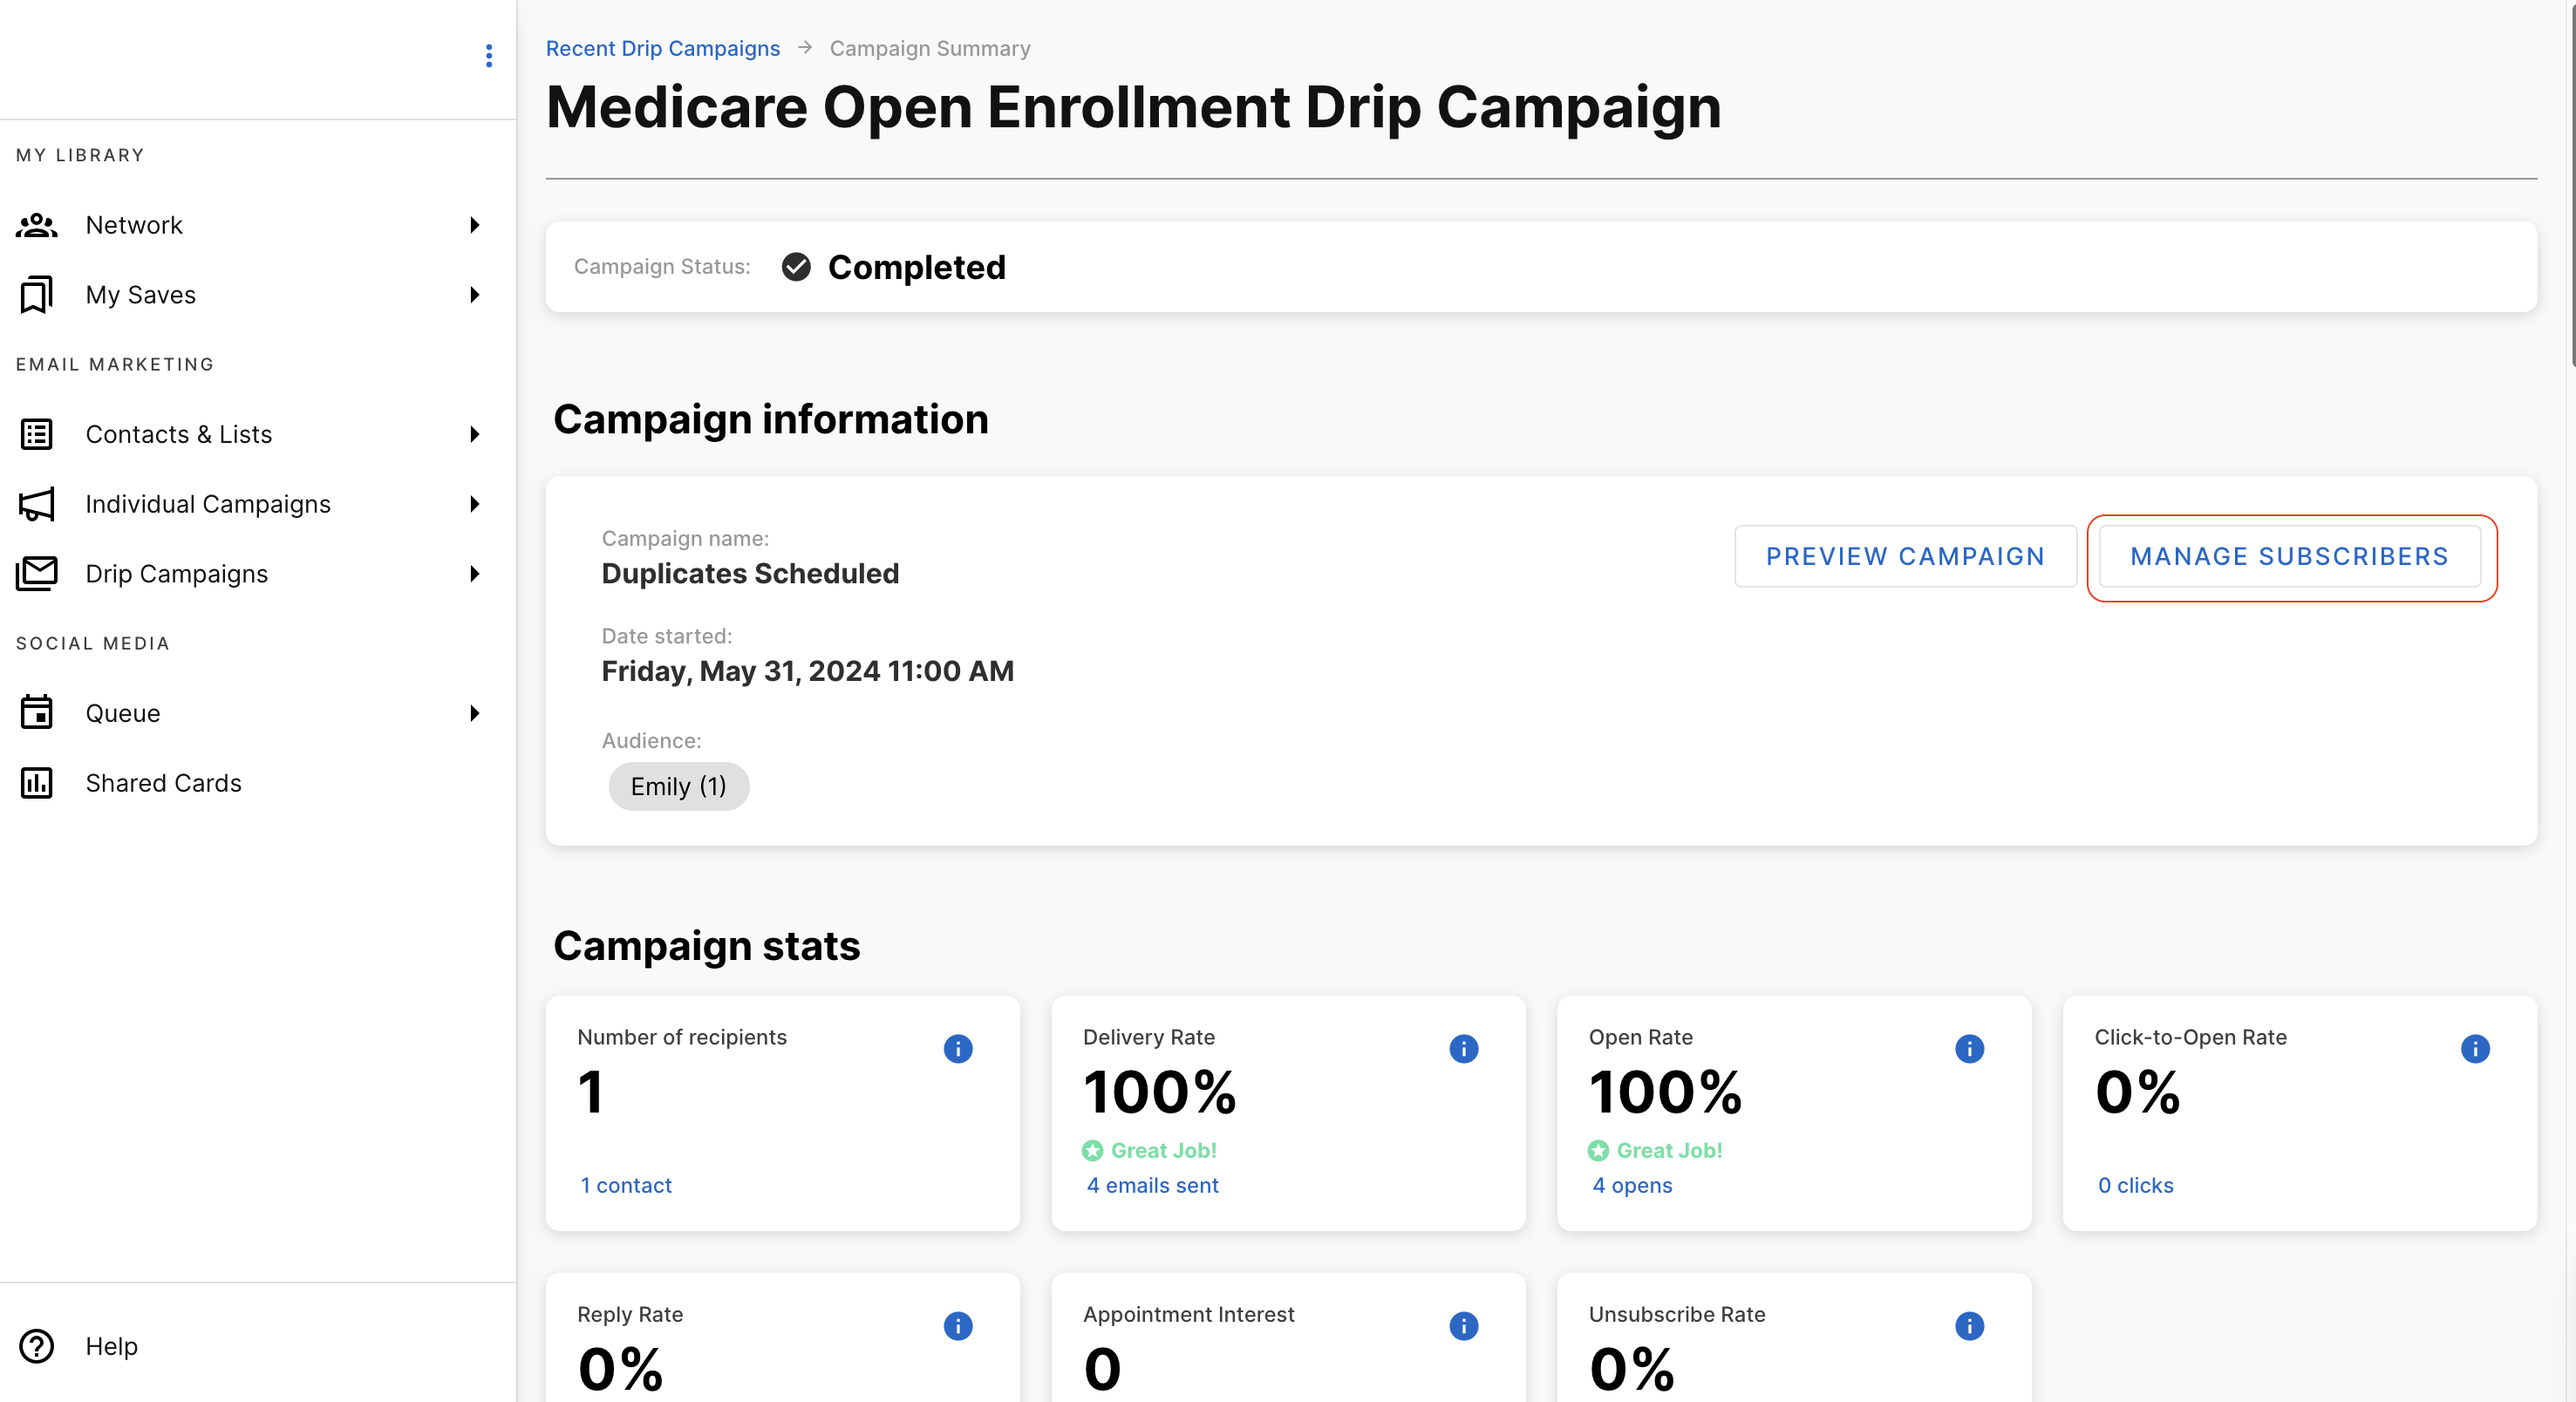
If you need to remove a user from the campaign, hover on the right side of their email address. From there, a hamburger icon (or three vertical dots) will appear. Selecting this will give you the ability to remove the user.
If, at any point, you want to navigate away from where you are, you can select the step in the breadcrumb trail that you'd like to return to, simply by clicking it along the top of the page.
Campaign Stats
Each campaign summary features statistics that have been carefully selected to help you and your team understand how your content has been performing amongst your audiences. If the content is performing substantially above the industry average, a green excellent button will appear.
To learn more about each individual statistic, please see our email reporting definitions section. You can also hover over the blue tooltip in the corner of each metric for a brief definition.
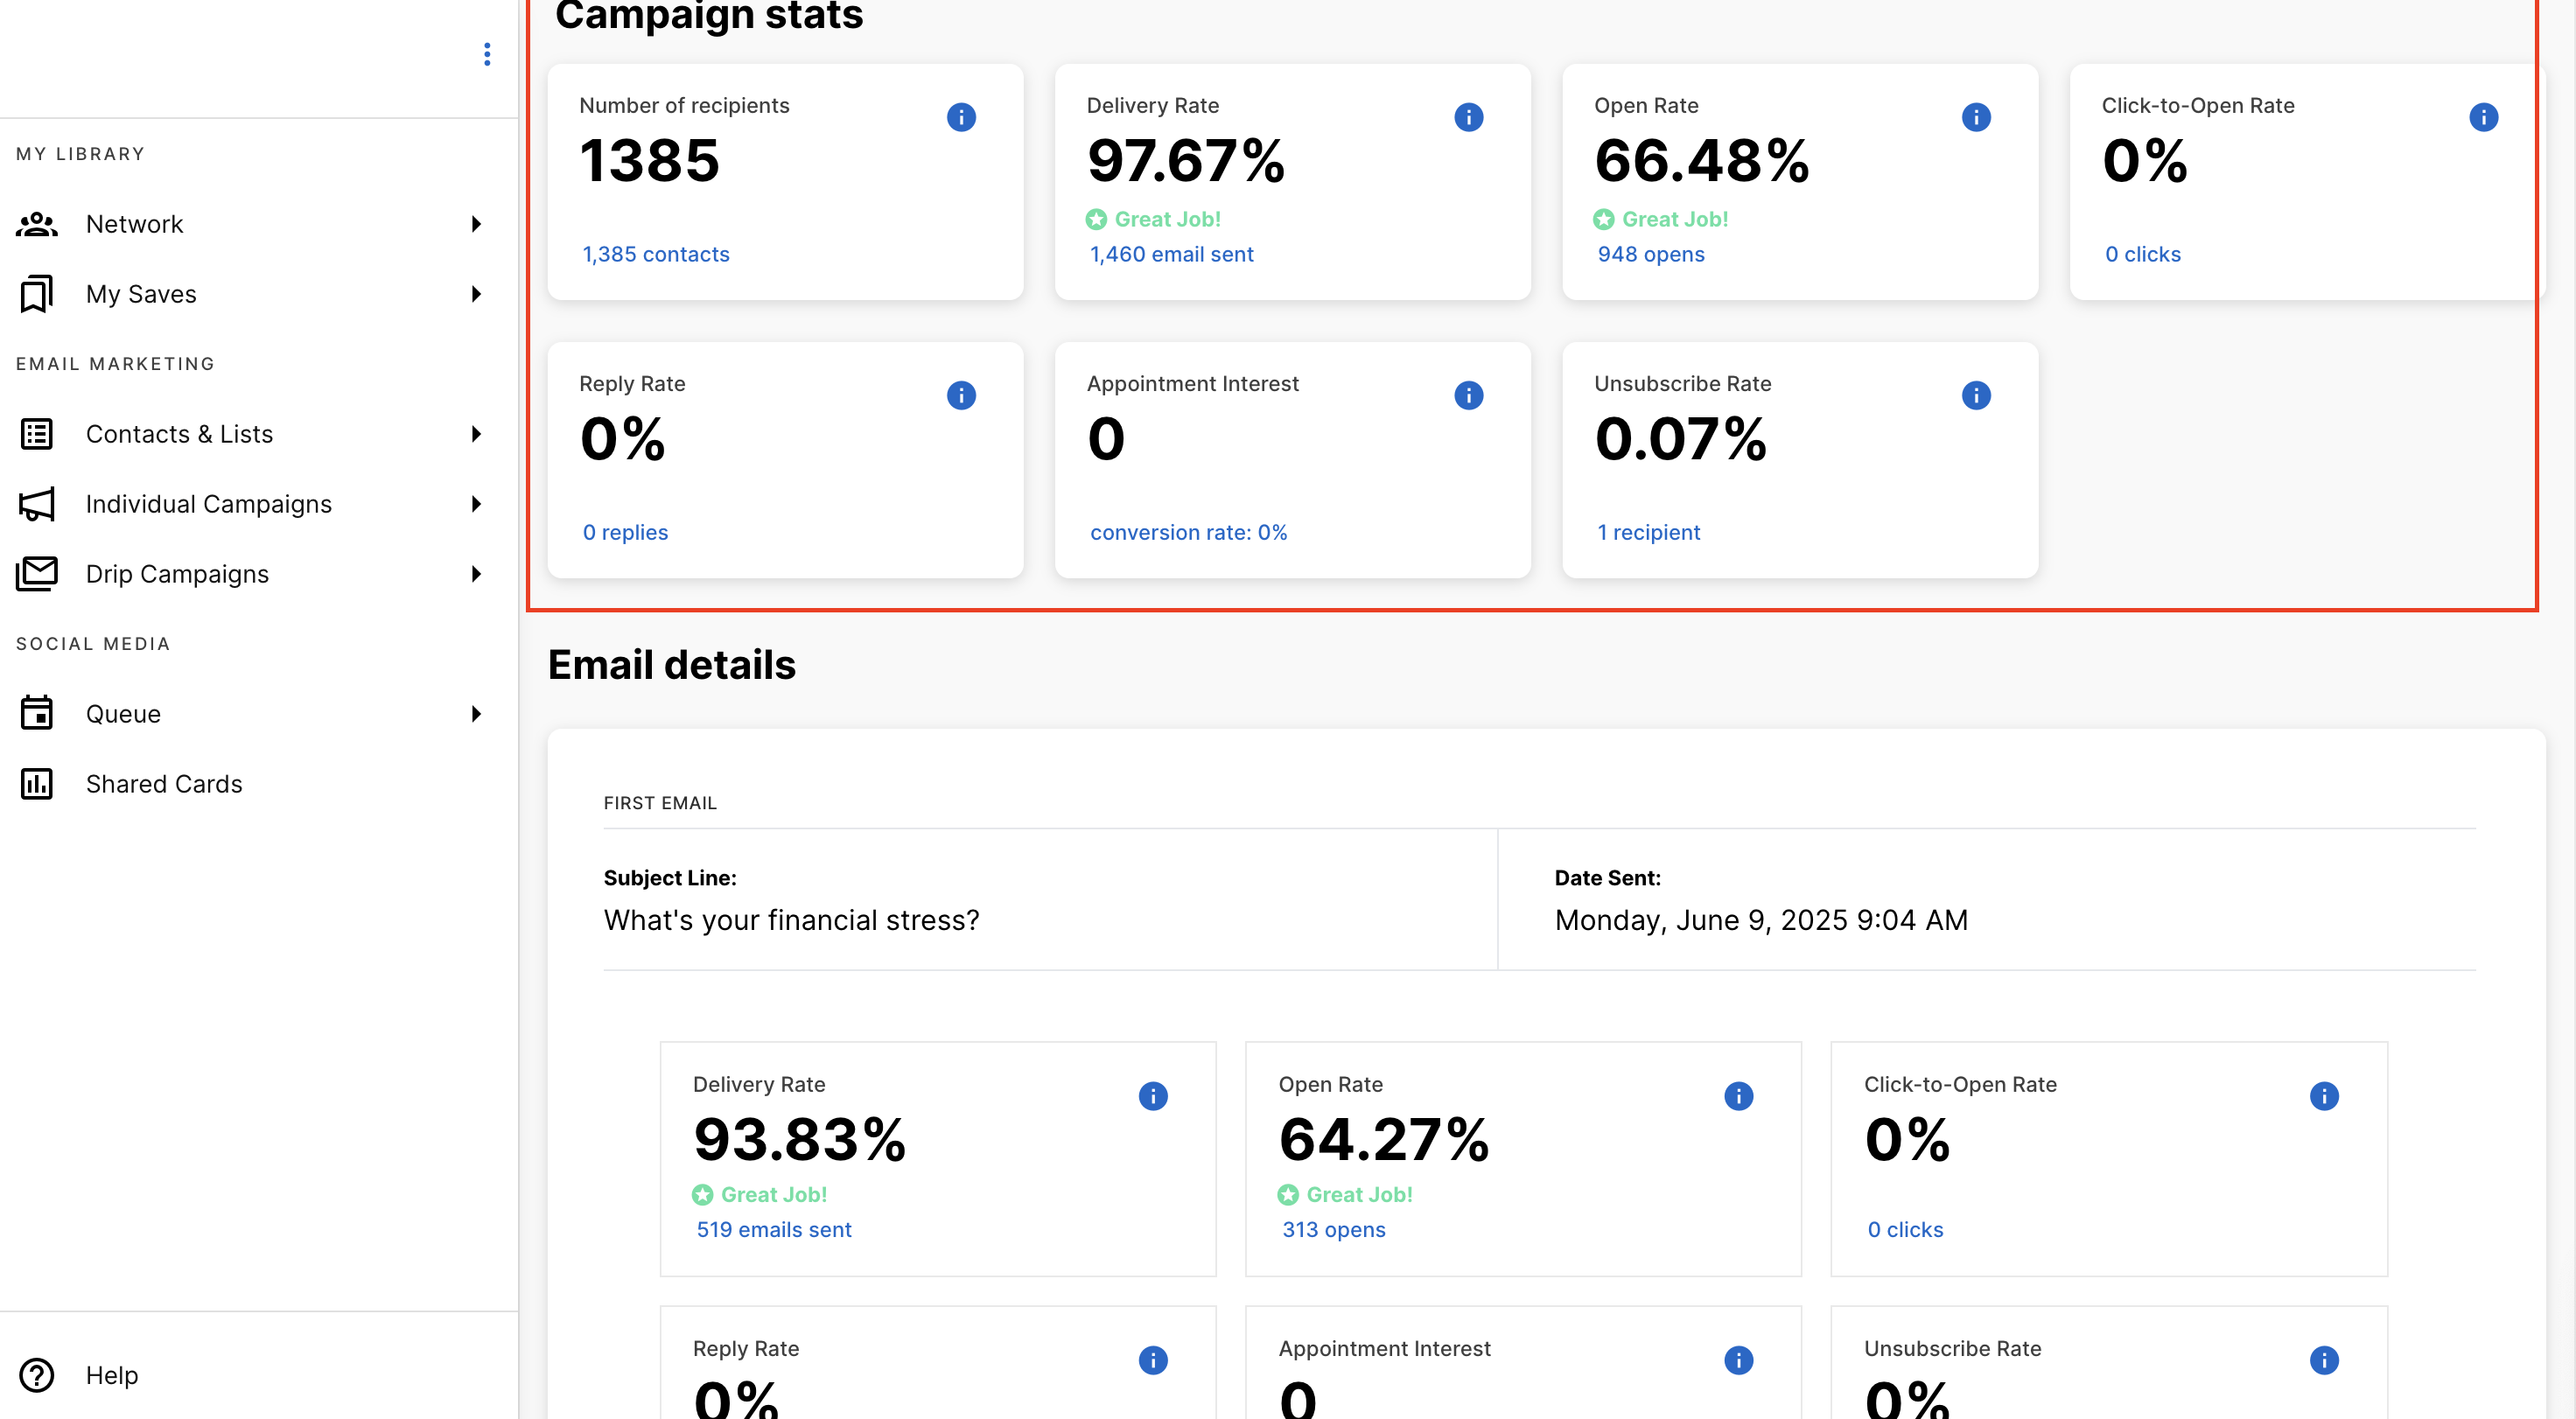
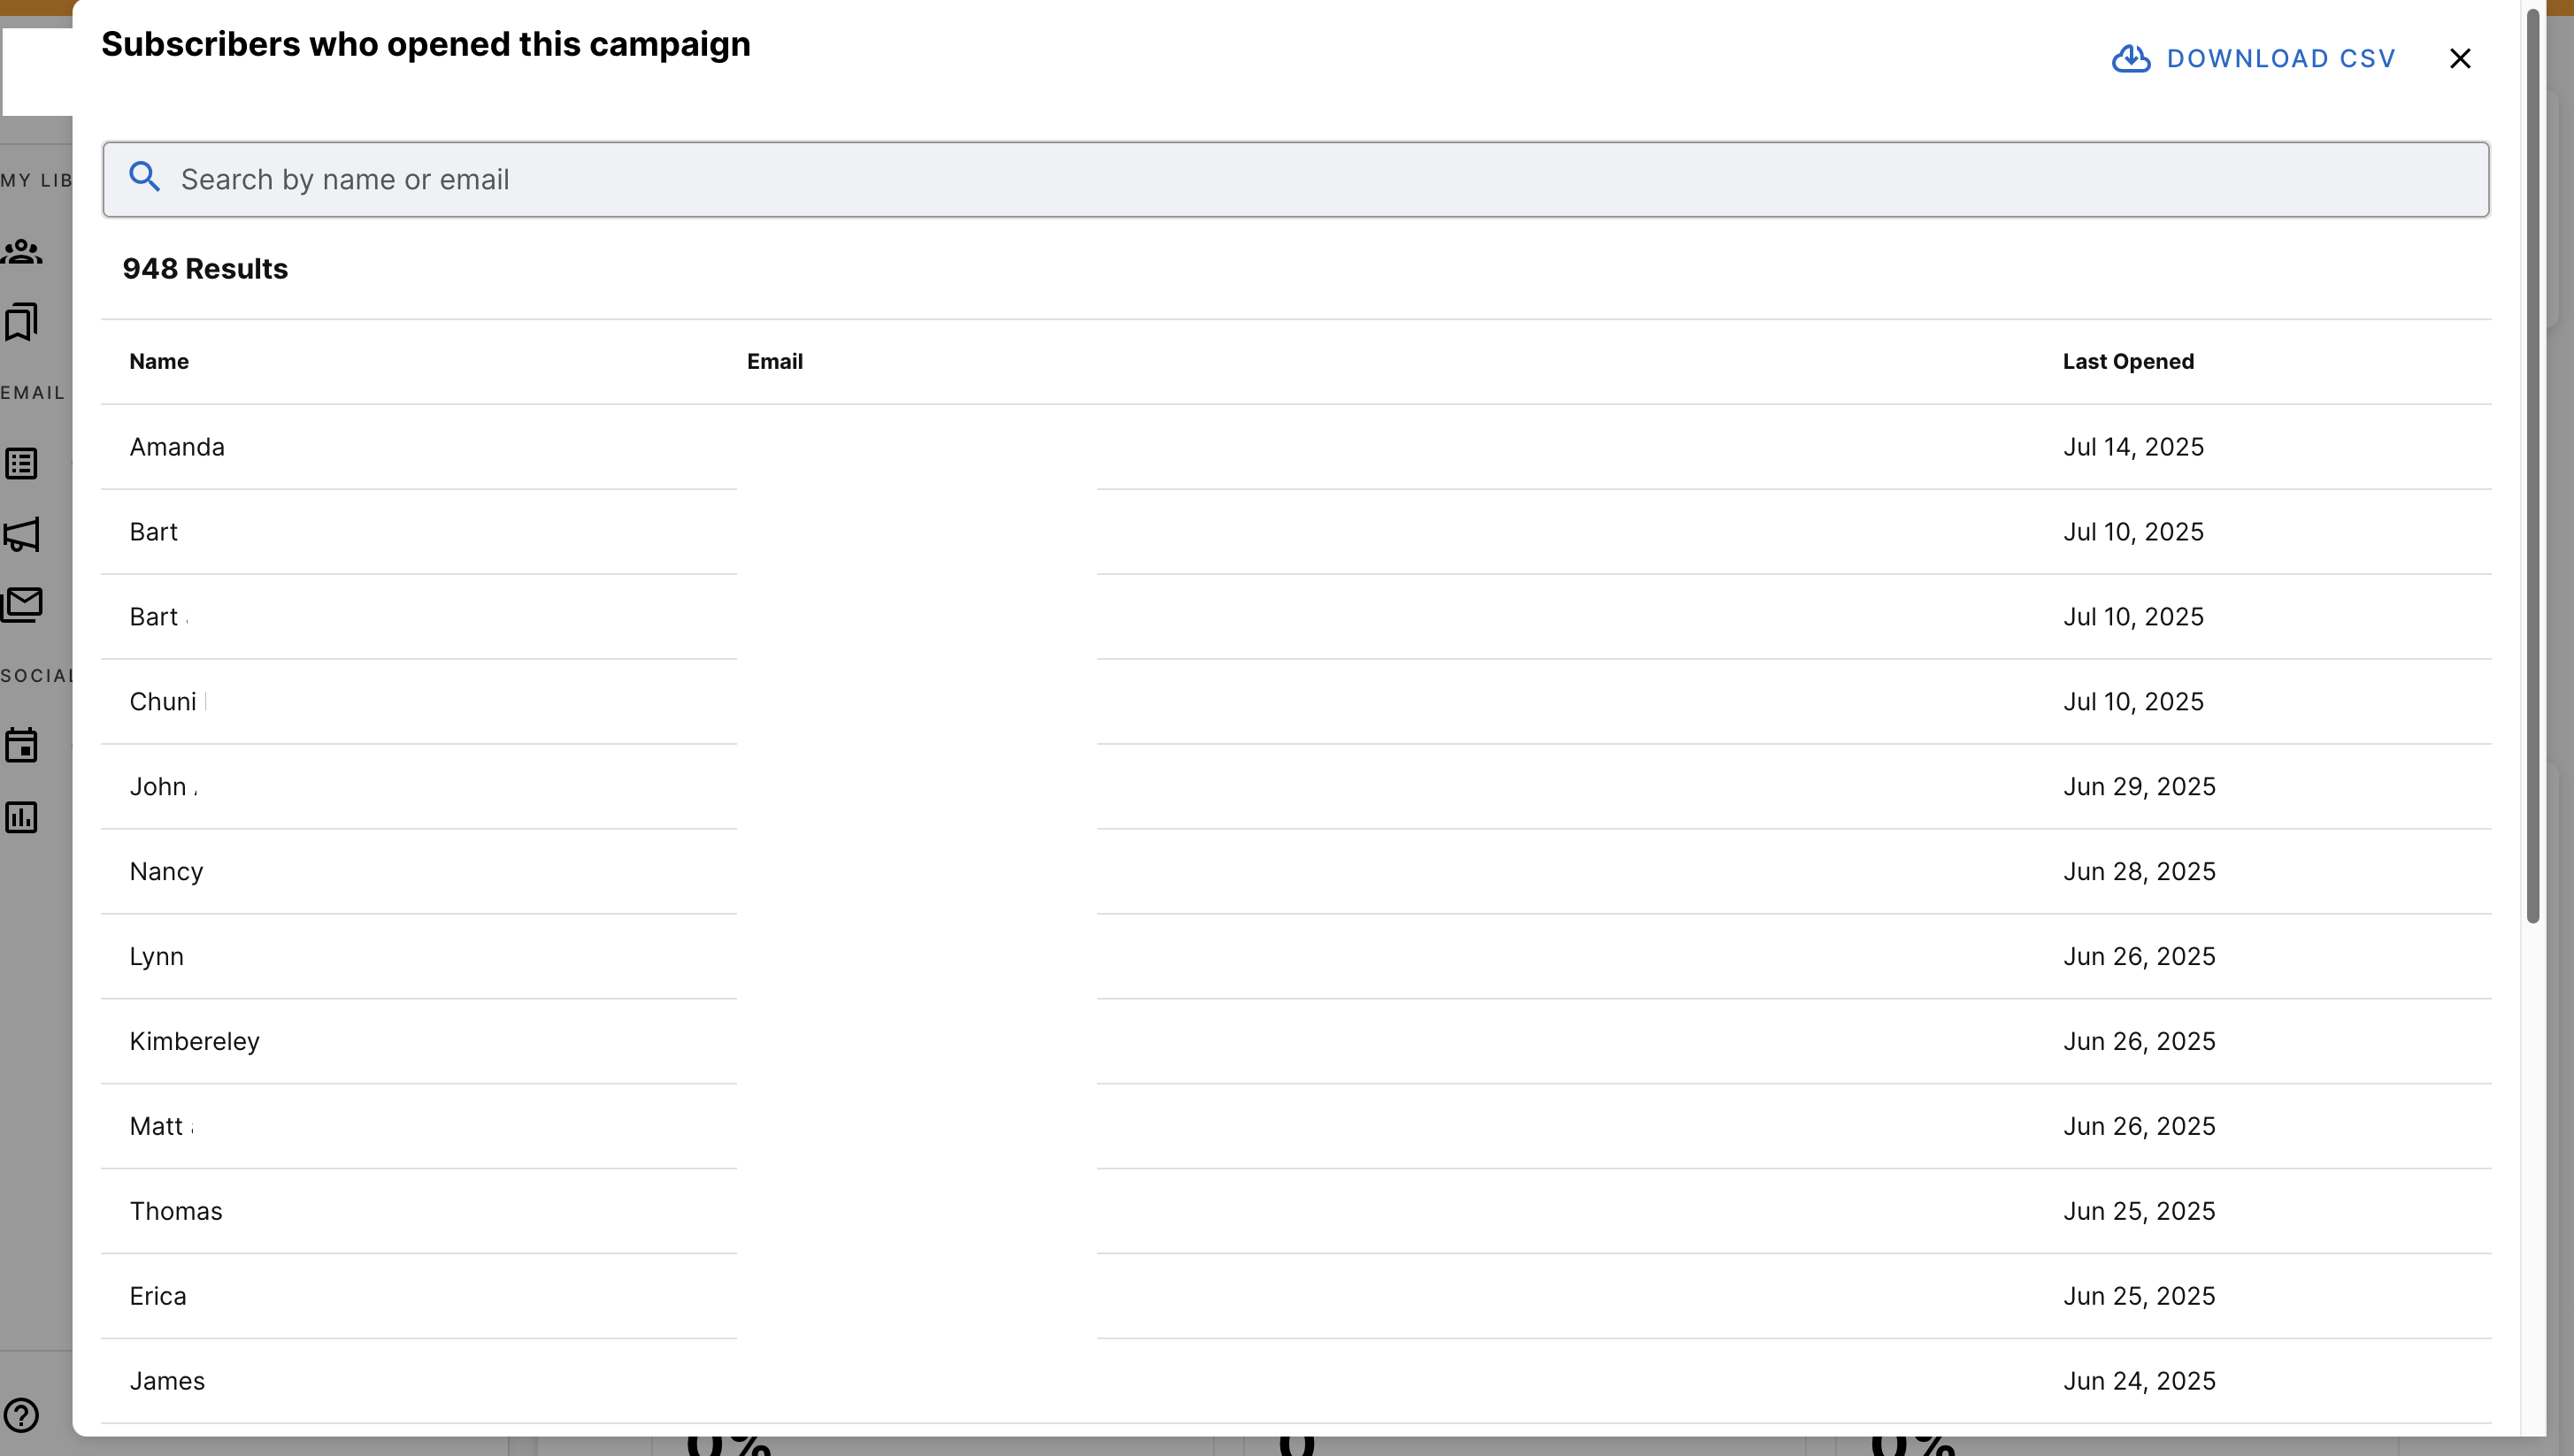
To learn more about how the intended audience interacted with your campaign, simply click on the blue hyperlink below each metric. For example, to learn more about who the email was delivered to, select the wording in blue that reads "148 recipients". We refer to this as our "User Actions" portal.
User Actions
Selecting a hyperlink in any of the user actions portals will populate the below modal.
To navigate this modal, simply search by name or email.
Please reach out to [email protected] with any questions you may have.
Updated 12 days ago