Social Media Scheduling and Queue Management
Setting Up Your Posting Schedule
Gainfully makes it easy to schedule posts in advance so your content goes live automatically. Setting a posting schedule helps you stay consistent and reach your audience at the right times.
Accessing Schedule Settings
At the top of your Social Media Scheduling page, you’ll see the Schedule Settings section. From here, you can:
- Choose the days and times for automated posting
- Enable or disable scheduled posting
- Review or adjust your posting schedule
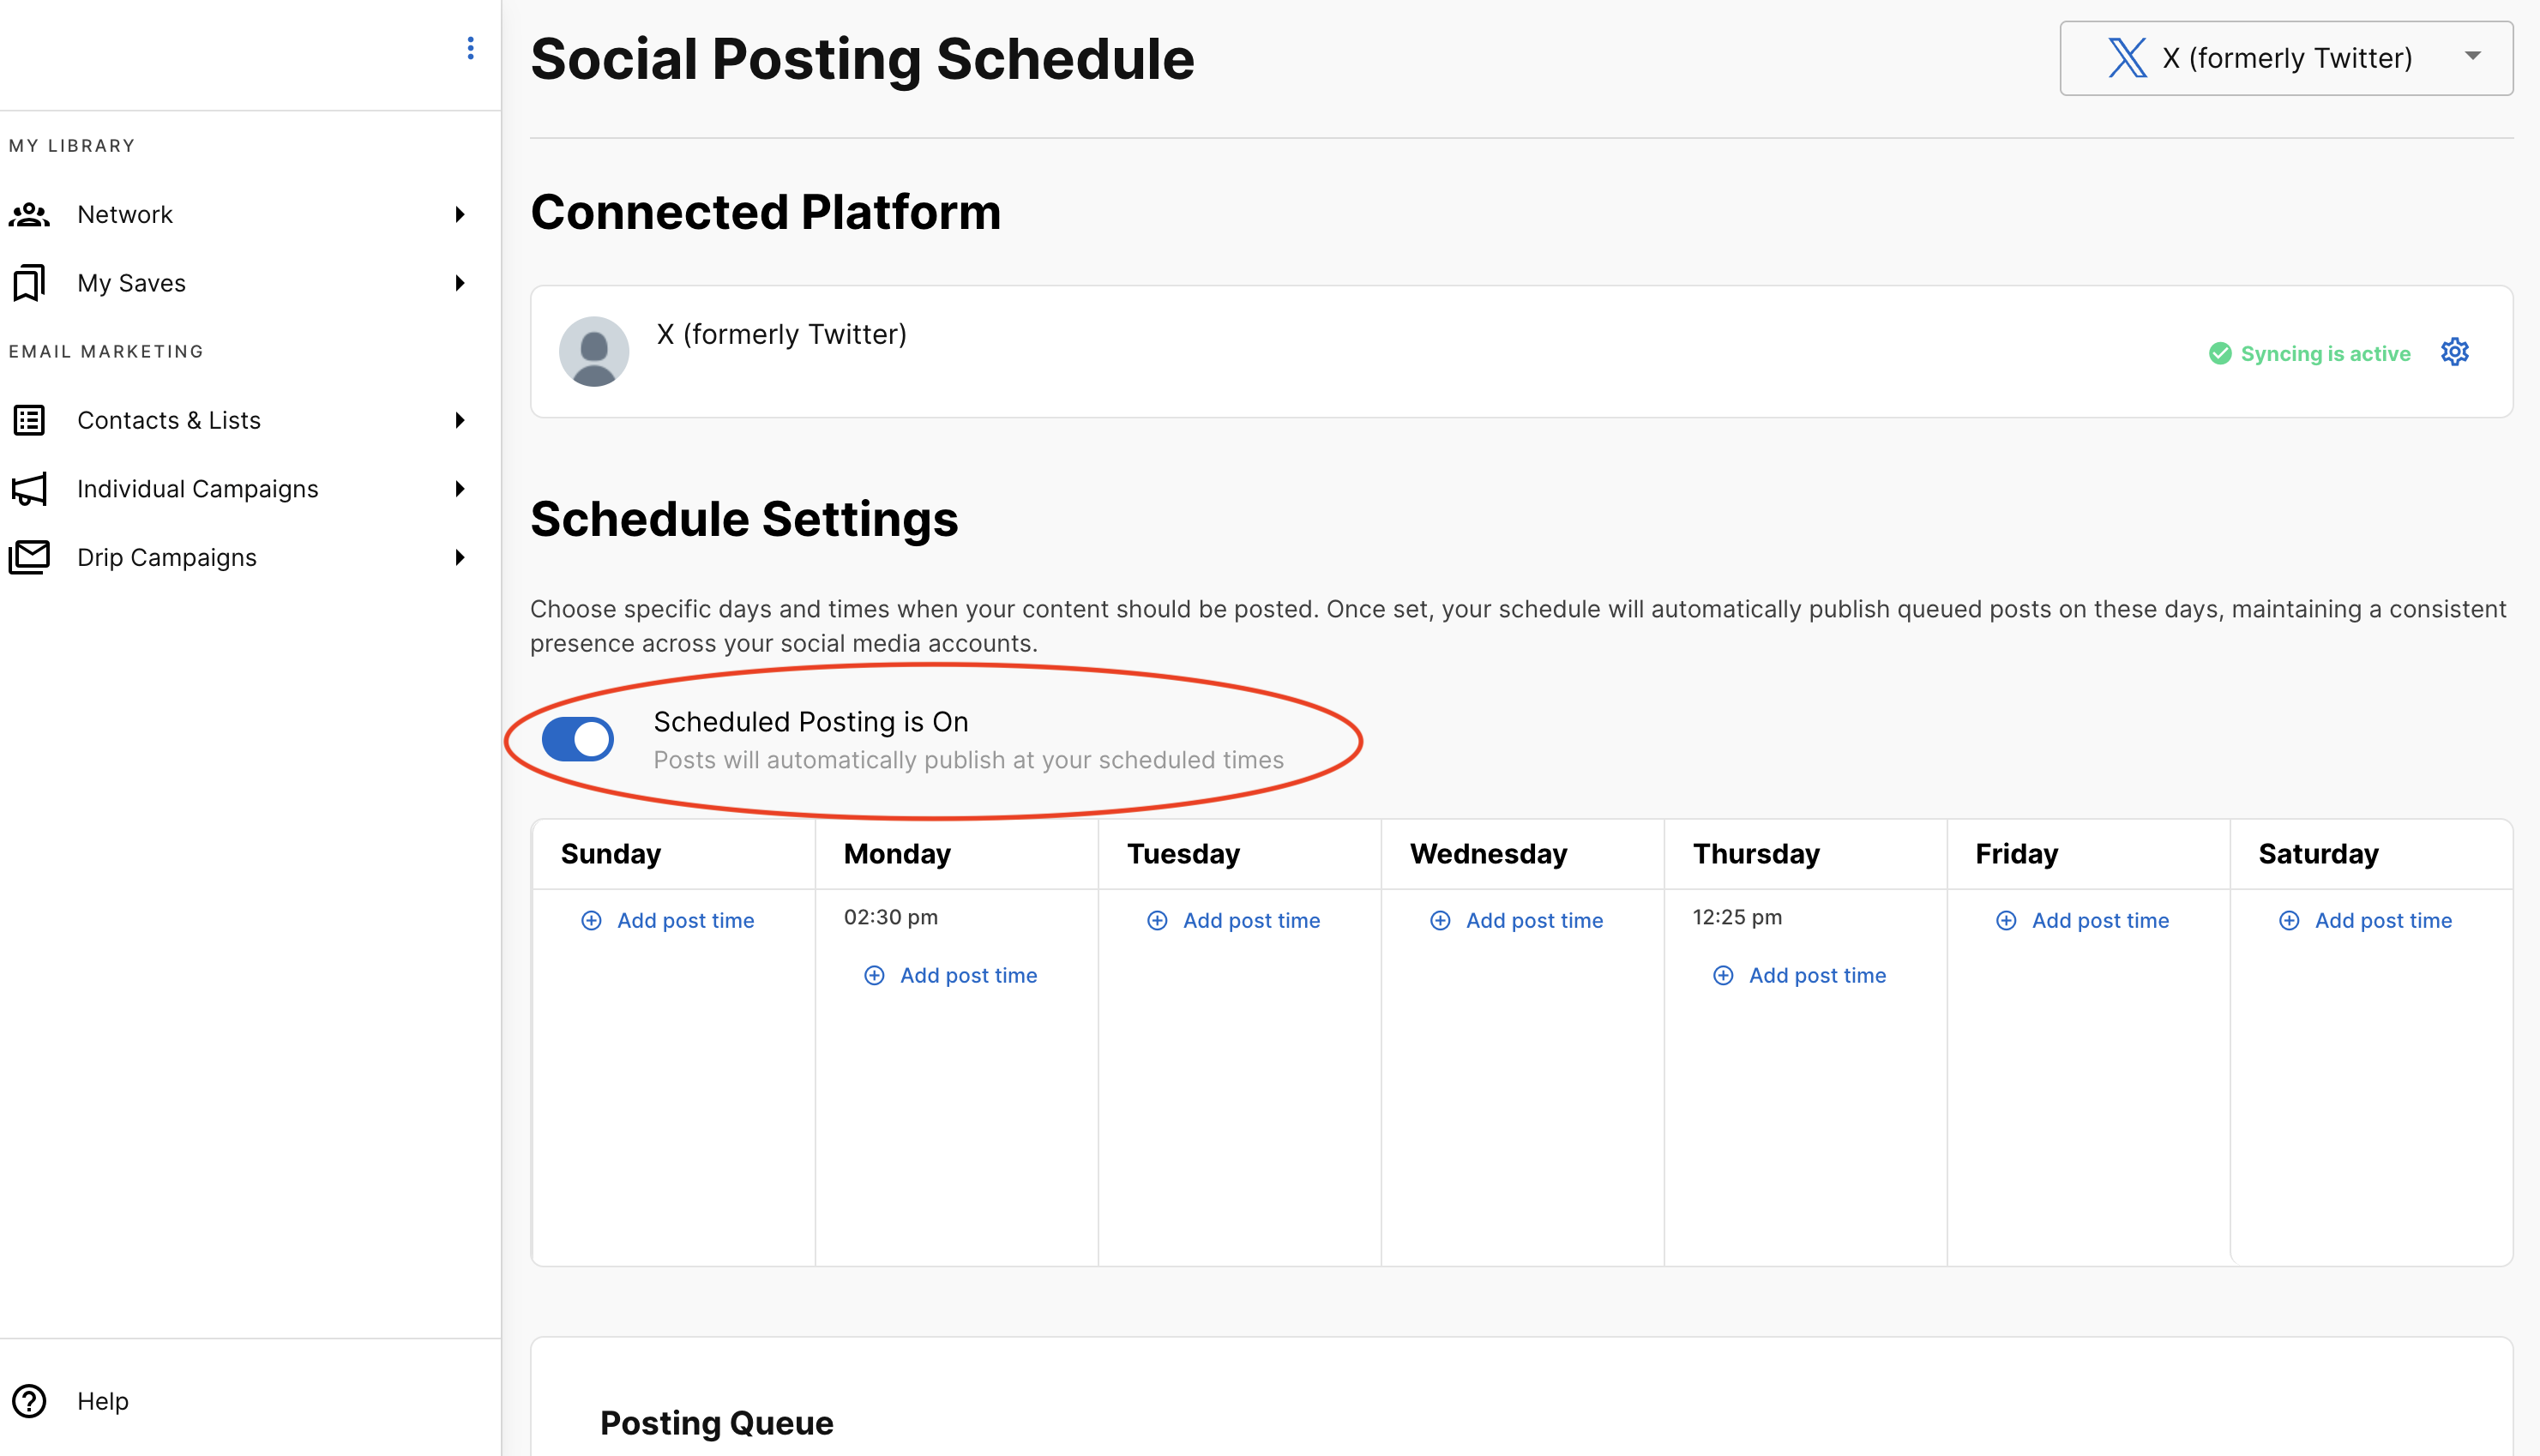
Enabling Scheduled Posting
Use the toggle switch to turn automated posting on or off:
- When off, you’ll see “Turn On Scheduled Posting.”
- Toggle it on to start publishing content at your scheduled times.
- Once enabled, the toggle displays “Scheduled Posting is On.”
When scheduled posting is turned off, your queue will be hidden. You’ll only see queued content when scheduling is enabled.
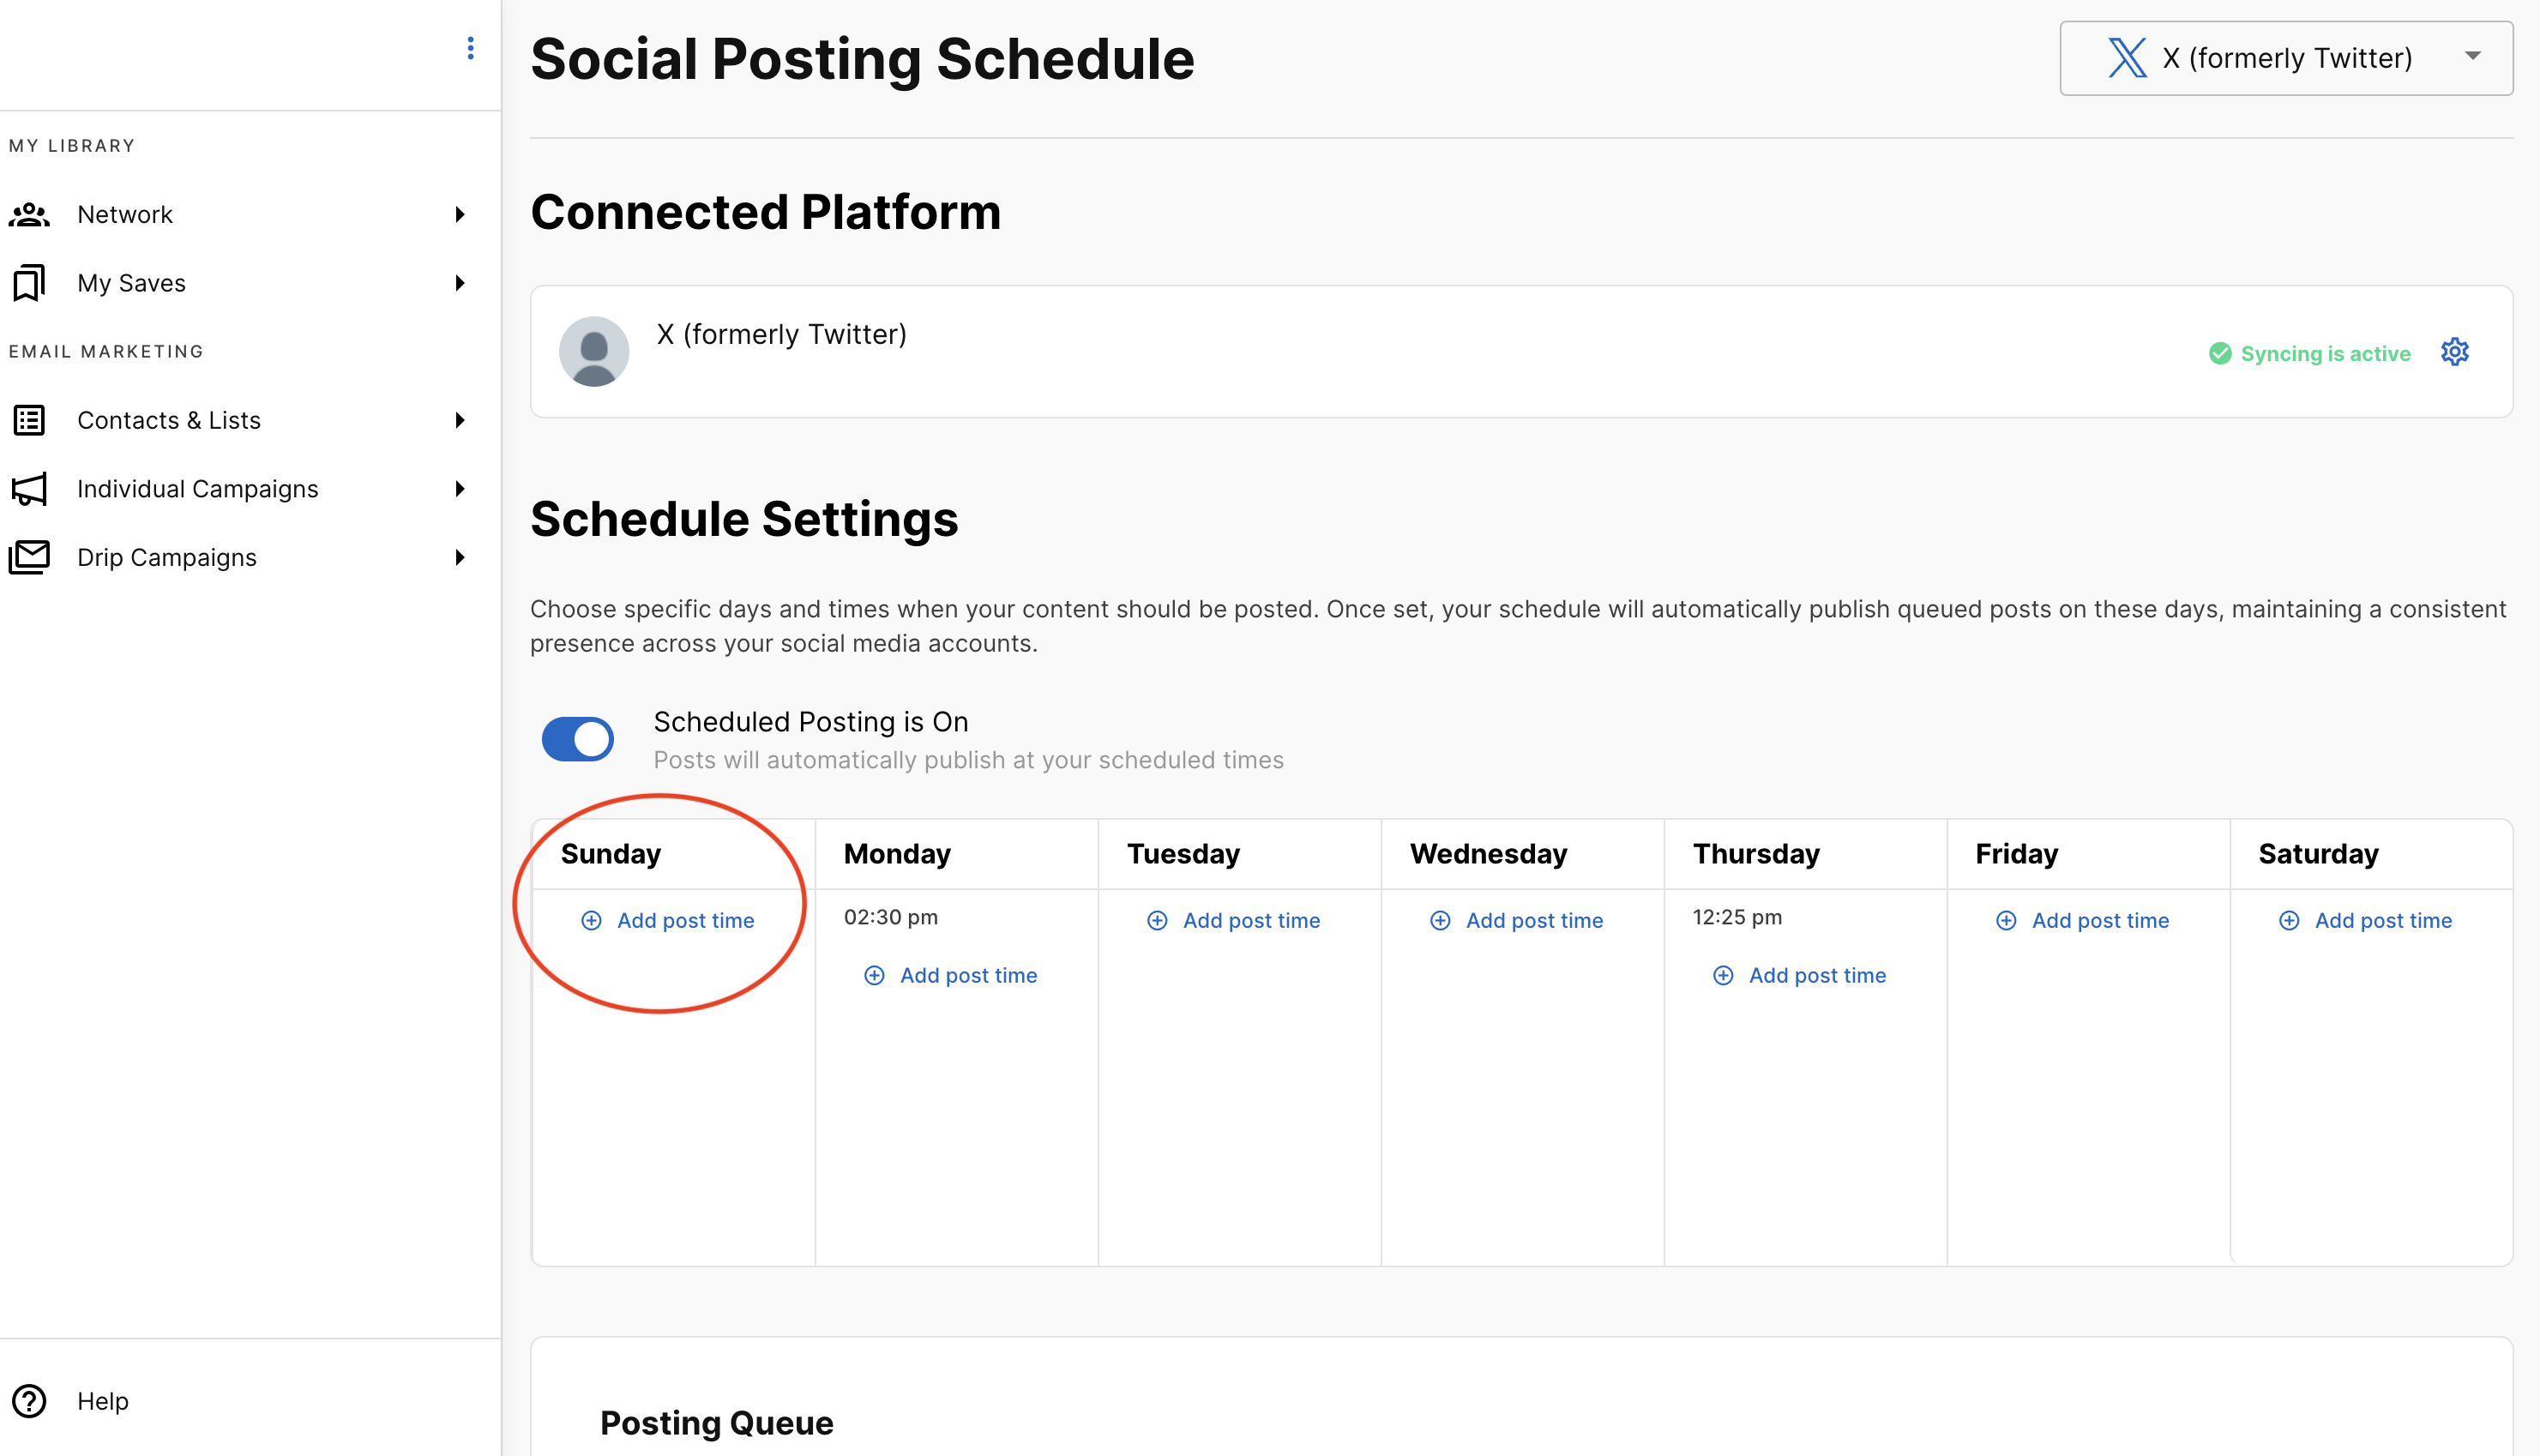
Adding Posting Times
To set up when your posts should go live:
- Find your desired day in the schedule grid
- Click "+ add post time" under any day of the week
- Set your posting time in the modal that appears:
- Enter the hour (whole numbers only)
- Enter the minutes (whole numbers only)
- Select AM or PM from the dropdown
- Click "Add Time" to save, or "Cancel" to discard changes
Managing Your Schedule
Once you’ve added posting times, you can easily adjust your schedule:
Add multiple times per day – Schedule as many posting slots as you like on any given day.
Remove times– Hover over a scheduled time and click the trash icon. A confirmation prompt will appear so you can confirm or cancel the removal.
See updates instantly – When you add or remove times, your queue refreshes automatically to reflect the changes.
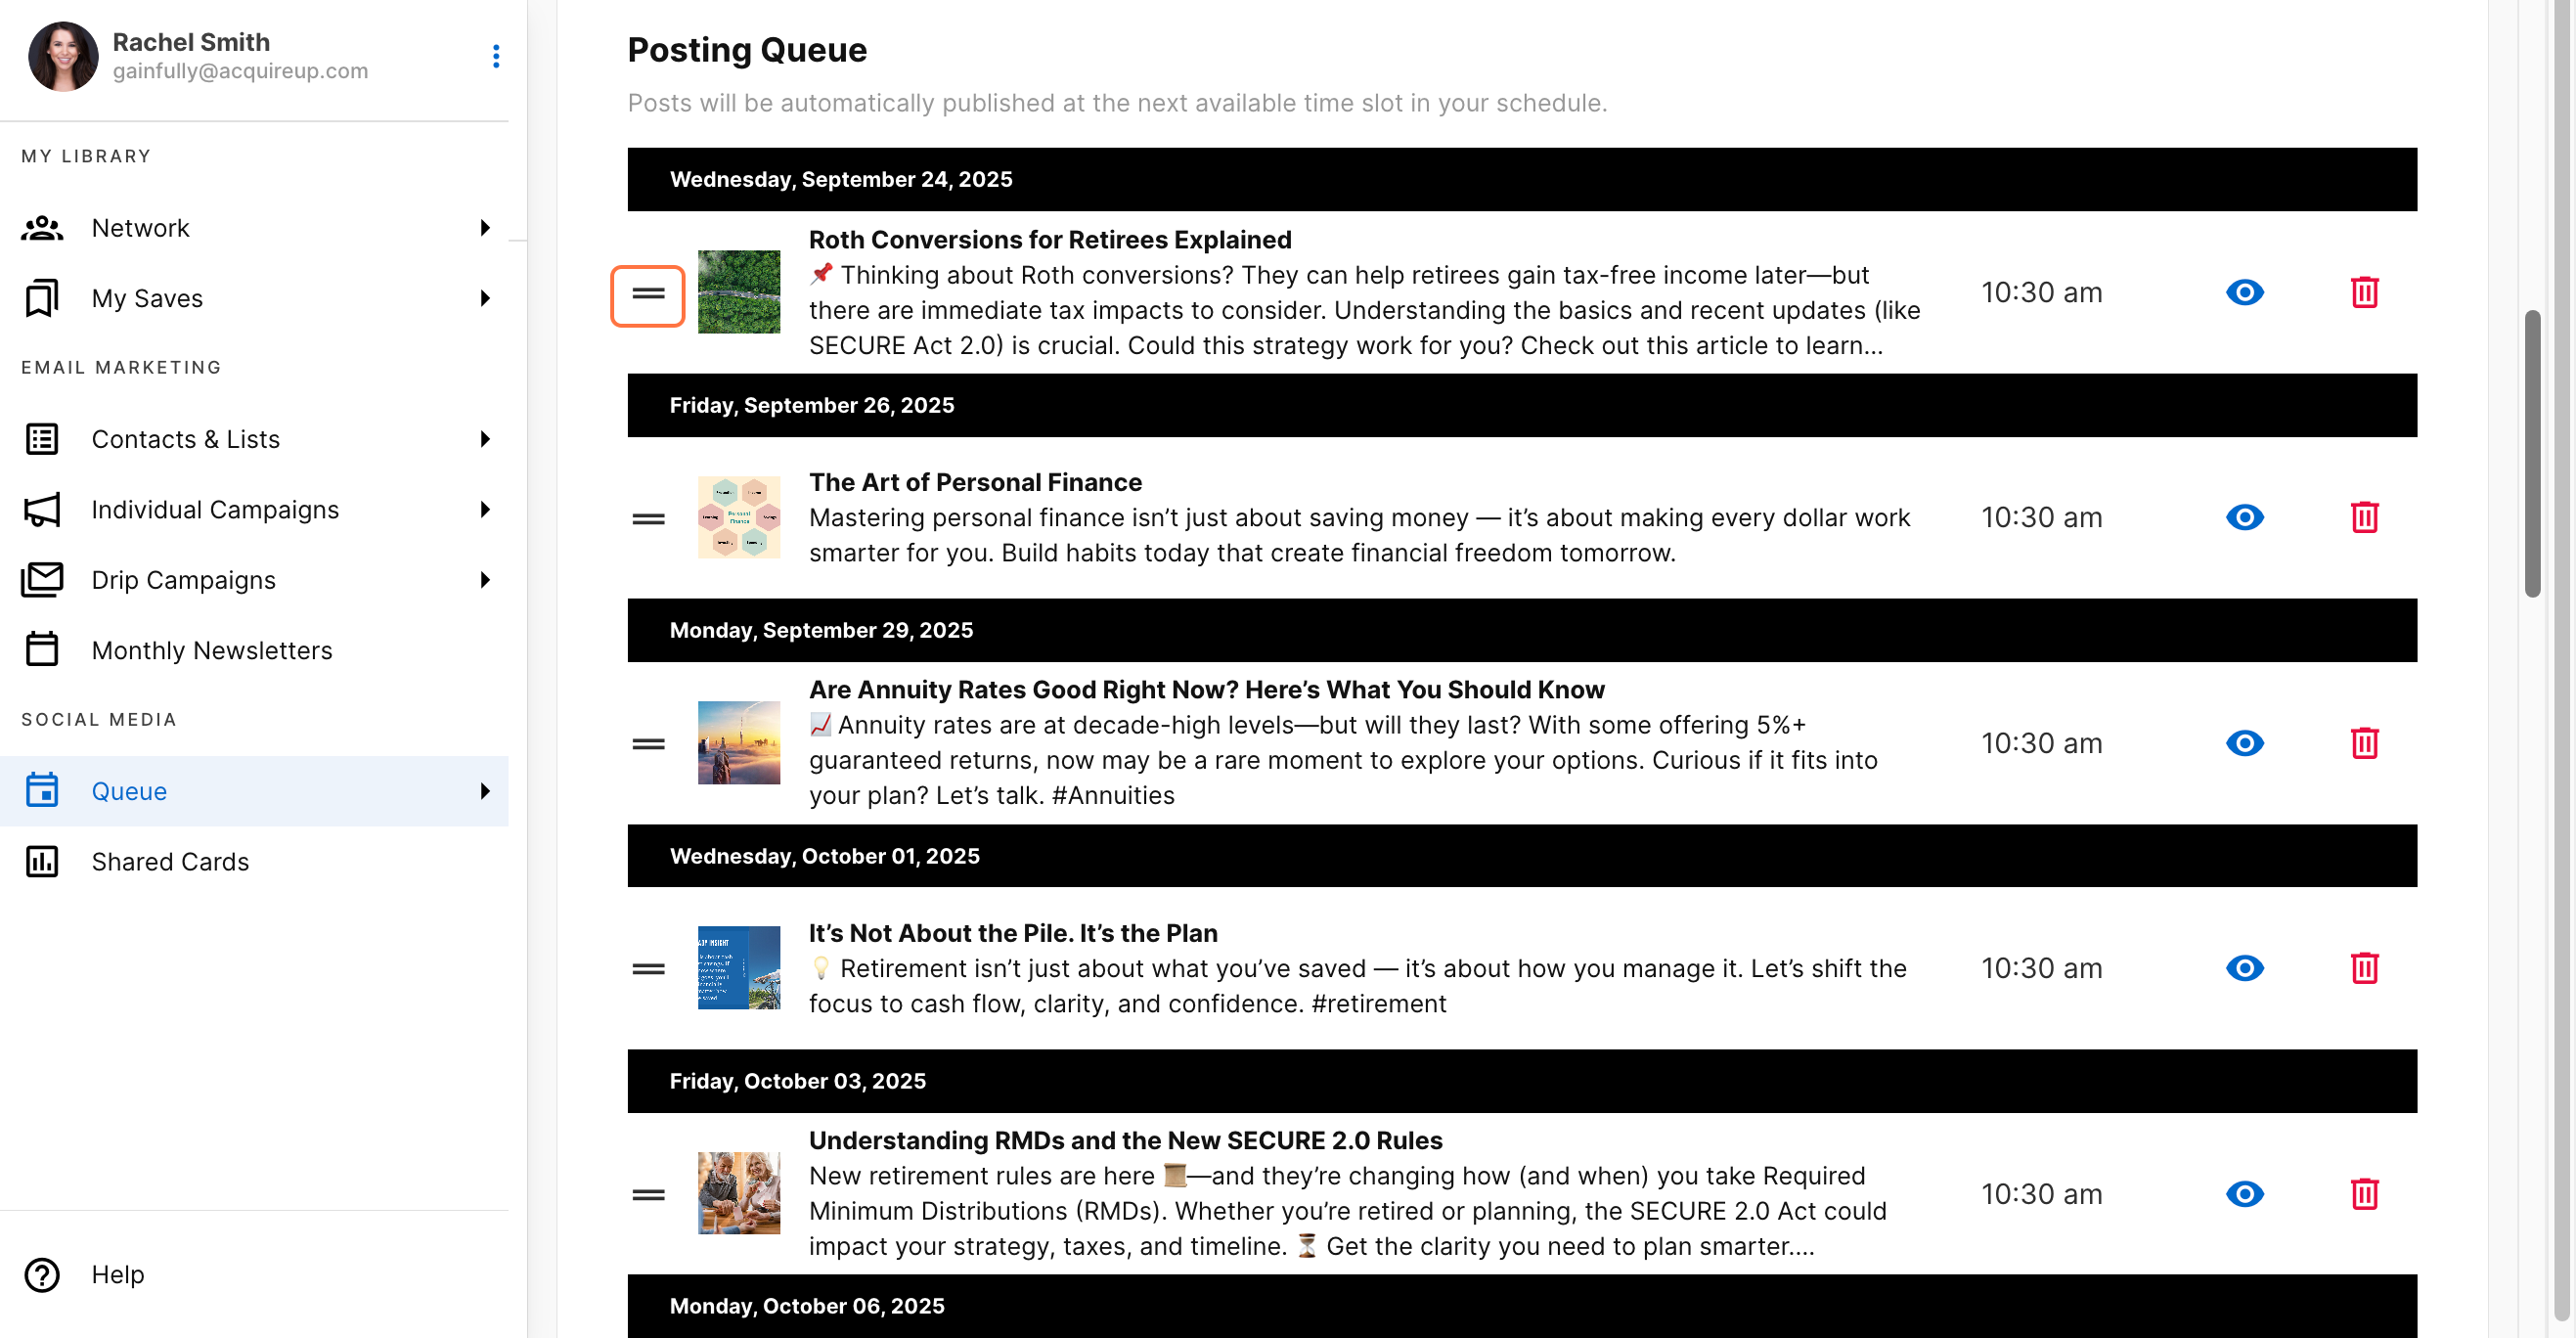
Managing Your Posting Queue
Understanding the Queue The Posting Queue section shows all your prepared content that's waiting to be published. Posts will automatically publish at the next available time slot in your schedule, following the order you've set.

Queue Organization Your queued posts are organized by day, with each day shown under a black banner displaying the day of the week and date. This makes it easy to see what content is planned for each day.
Post Cards Each post in your queue appears as a card showing:
- A drag handle for reordering
- The post's image
- Headline and caption
- Scheduled time
- An eye icon for previewing content
- A trash icon for removal
Reordering Posts You can rearrange most posts by:
- Hover over the drag icon until you can grab the post card
- Dragging the card to a different day or position
- Releasing to drop the post in its new location
Note: Posts that have a specific date and time set cannot be reordered. You'll see a message stating "This post has a set date and time and can't be reordered."
Previewing Content Click the eyeball icon on any post card to see exactly how your content will appear when published. The preview modal shows your post as it would look on the actual social media platform. Close the preview by clicking the "X" in the corner.

Removing Posts To remove a post from your queue:
- Click the trash icon on the post card
- Confirm deletion in the modal that asks "Remove this post from queue?"
- Click "Delete" to remove the post, or "Cancel" to keep it
The queue will automatically adjust after removing posts.

Queue Status Messages Depending on your setup, you might see different status messages:
Empty queue: "No posts in queue. Add content to start sharing on social media."
Scheduling disabled: "Enable your posting schedule to view and manage your queue."
These messages help you understand what action to take next to get your automated posting working smoothly.
Tips for Success
- Set up your posting schedule first before adding content to your queue
- Consider your audience's most active times when scheduling posts
- Regularly review your queue to ensure content remains relevant and timely
- Use the preview function to double-check how your posts will appear before they go live
Updated about 1 month ago